YOGA BLOG
What Moves Us…..
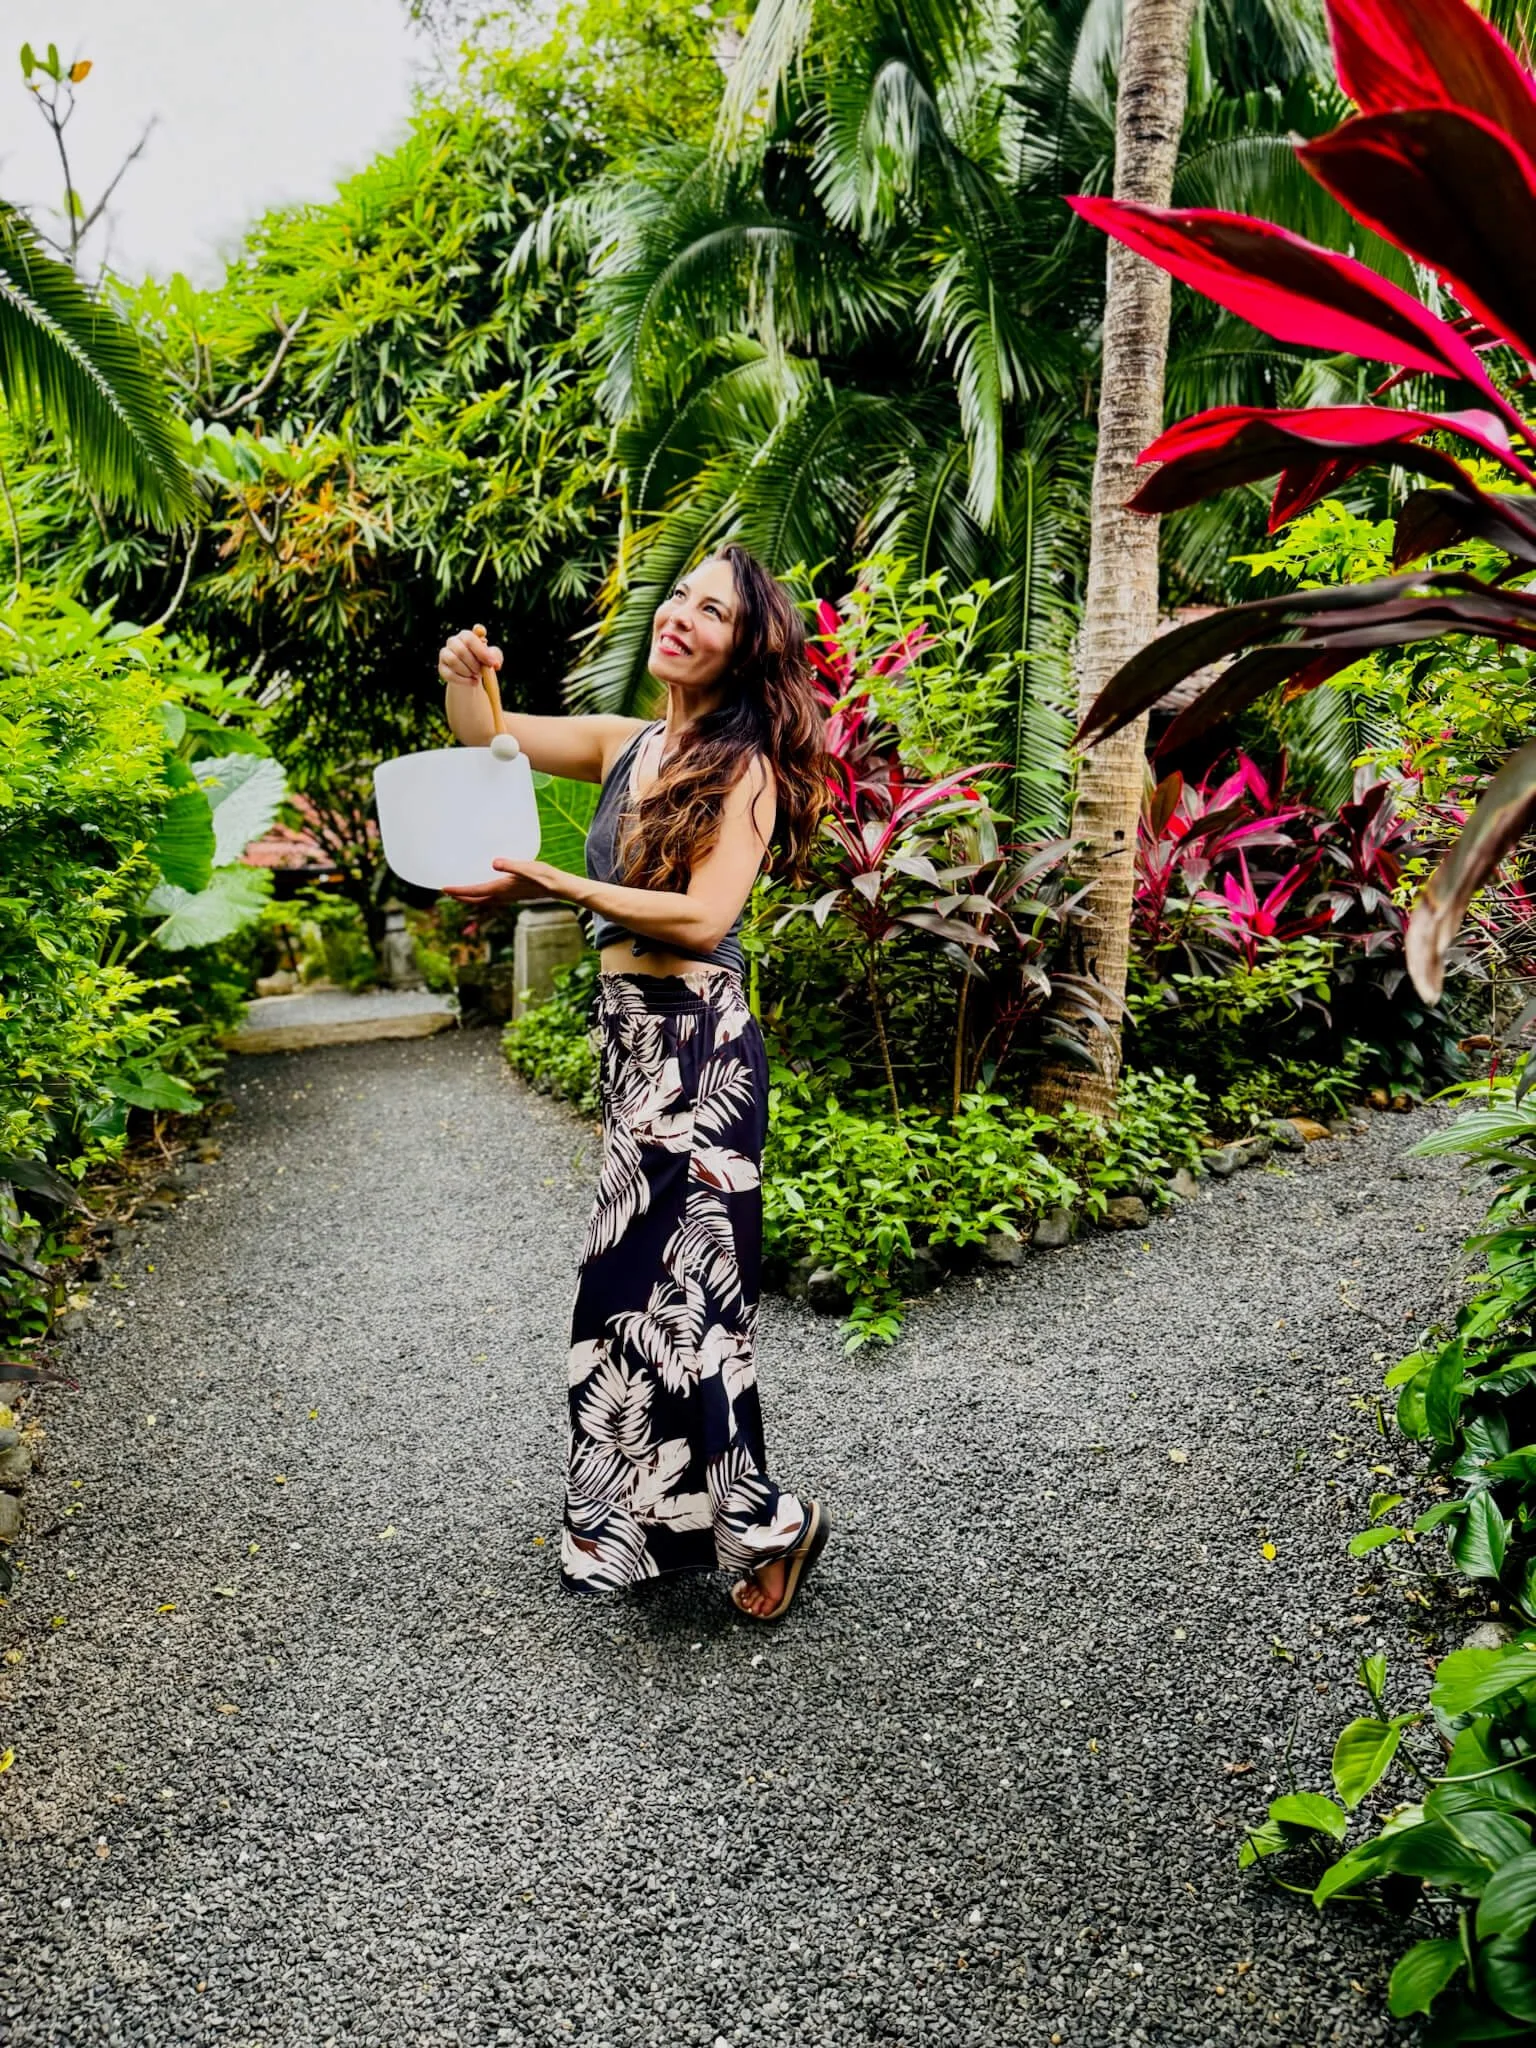
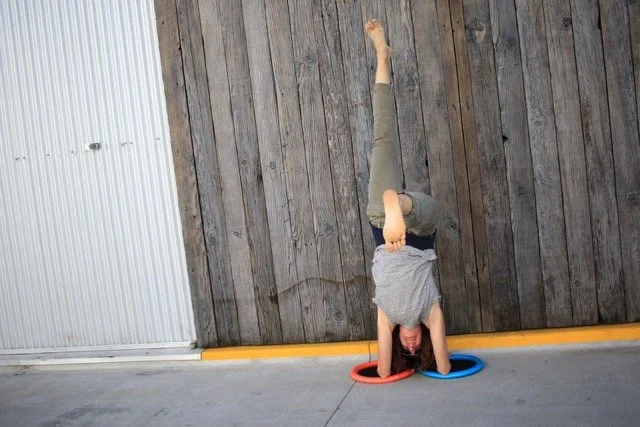
NATURE, MY LOVE BY LEILA SWENSON

“I only went out for a walk and finally concluded to stay out till sundown, for going out, I found, was really going in.” ~John Muir
Has this ever happened to you? …Maybe while you were walking on the beach… or through the Redwoods… or in the Marin headlands… that you felt a deep connection to yourself, and wanted to dwell in that for as long as possible? …Maybe you felt a deep sense of peace, contentment, or joy, in just being?
I really feel Nature is nourishment, for the soul.
When I’m taking a walk, or hanging out on a park bench in the Botanical Gardens, it is sheer delight for me to take in the big blue sky through my eyes, to feel the sun kiss and warm my face, the wind play with my hair, the grass tickle my feet, and to hear the chirpy-chirp of birds, ( especially the slurpy-slurp of hummingbirds).
Instantaneously, I feel energized and more alive.
One of my favorite things is to smell the distinctive scent of eucalyptus trees, and even more sweet, to hear their leaves rustle lightly, whispering secrets on the breeze.
Every single time I’m in the gardens I’ll notice I have a huge smile on my face… It’s pure bliss to feel so connected to something greater than myself, and at the same time, feel accepted as a unique part of what surrounds me.
One day, I was intently watching a bee draw nectar from a flower, and I saw how selflessly the flower gave, playing its role. I wondered, what can I learn from the flower? What is my nature? What is my role? How am I a part of this great web of life? What can I selflessly give, for the benefit of others? What are others, selflessly giving, for the benefit of me?
I thought of the words of Albert Einstein: “Look deep into nature, and then you will understand everything better.”
Yes.
It is important for us to get outside and enjoy, appreciate, and learn from this beautiful natural world of ours… To be moved by the oceans, lakes, mountains, streams, valleys, wind, stars, hills, sky, clouds, trees, meadows, flowers, and more, is an amazing gift. To be in Nature inspires care and action on behalf of our environment, and great love for our “home sweet home” on this planet Earth.
It also simply feels good.
When was the last time you went out into nature… and found yourself, going in?
… Maybe I’ll see you, there.
RICHARD ROSEN’S ASANA BREAKDOWN NO. 7: VIRABHADRASANA 2

VĪRABHADRĀSANA 2
(veera-bah-DRAS-anna)
vira = brave person, hero
bhadra = blessed, auspicious, prosperous, happy, etc.
Popularly known as Warrior Pose, 2nd variation (abbreviated below as V2)
Although he was certainly war-like, I’m not sure that “Warrior” describes Virabhadra accurately; rather, he was a monstrous emanation of the deity Shiva, the patron saint of Hatha Yoga, with a “thousand heads, a thousand eyes, a thousand feet, wielding a thousand clubs … shining with dreadful splendour … clothed in tiger’s skin, dripping with blood…” Virabhadra was cooked up specifically to settle a score with Shiva’s father-in-law, a powerful prajapati, or “lord of creatures,” named Daksha (“skillful, intelligent”). I won’t go into the rather gruesome details of this story, suffice it to say that Virabhadra crashed a great sacrifice Daksha was leading and set about teaching him a lesson he’d never forget. One version of the story has him wreaking violence among the sacrifice’s participants, crushing this and dismembering that, until he finally chopped off Daksha’s head. When Shiva went to stick it back on it couldn’t be found, so he used a goat’s head instead. Lesson learned.
I don’t know this for sure, but V2 may be based on a pose called Pratyalidha-asana, which is a “particular attitude in shooting” a bow and arrow. I often wonder why this pose is counted as the second in the three-pose Virabhadra series. It seems to me that V2 should be numbered one, since it quite naturally flows into V1 (which then lifts up to V3).
In any case, it doesn’t appear that any of the Virabhadras are very old. The earliest attested description of V1 is found in Yoga Rahasya (“Secret of Yoga”). This book has an extremely interesting story. When it first appeared it was attributed to one Natha-muni, was once claimed that it was over a thousand years old, though it was finally determined that it was product of the 20th century
In my 38 years of practice, mostly in Iyengar Land, I’ve watched the words fly in some heated asana controversies. There was, for example, the great pelvis-in-a-twist fracas, one camp insisting the pelvis should stay neutral while the rest of the torso twists. An opposing camp countered, no, the pelvis should turn with the rest of the torso, keeping it neutral could lead to all sorts of lower back issues. This led to a clash over the pelvis’ position in the two-sided standing poses, i.e., Triangle and Half Moon, Side Angle and its twisted variation, and V2.
One camp (I won’t name any names) asserted that the pelvis should be “flattened” as if performing the pose between two panes of glass. I call this camp the form-over-function camp. The opposition here unequivocally states that the pelvis needs to turn with the rest of the torso, else in neutrality there’s a tremendous strain put on the back hip and front knee. These folks (I’m revealing here who I adhere to) are function-over-form.
PRELIMINARY: I’ve learned a number of very useful exercises in my years as a yoga student, but none more useful than the one I’ll describe here. You’ll need a yoga block (although a rolled-up sticky mat will do in a pinch) and an open wall (a foam block is preferable, a cork block will probably be OK, a wooden block will provide you with a challenging experience).
Position one side of the block against the very top back thighs, just under the creases of the buttocks, then brace the block against the wall. Step your heels out from the wall about the length of the block, say 9 or 10 inches. In an upright position push back with the topmost thighs against the block, you may feel yourself getting slightly taller. Take an exhale and, without losing any of the height you may have created, tip the torso about halfway, roughly parallel, to the floor. If you’re just learning this exercise you may find that the block slips down a bit and is no longer directly against your topmost back thighs. Should this happen, re-adjust the block, then come down into the forward bend about three-quarters of the way.
Now look to see if, in trying to press your thighs back against the block, you’re simply locking your knees. One very clear giveaway in that your knee caps are slightly turned inward. If this is the case, bend your knees until the caps face forward and press your hands against the calves to resist the knees. Spend a few minutes in the forward bend, getting a feel for what it’s like to “ground” the thigh bones (specifically the femur heads). Don’t be discouraged if at first you can’t figure out how to do this, keep trying regularly and eventually the “grounding” will come.
PRACTICE: Now for the pose. I like to do my standing poses with my back heel pressed to a wall, and I recommend you do this at least occasionally.
1. Separate your feet about 3½ to 4 feet, generally farther apart the taller you are. Brace your left heel against a wall and turn your foot slightly forward, your little toe should be off the wall. Turn your right foot out a full 90 degrees, so the big toe points straight at the front end of your mat.
2. Turn your pelvis slightly to the right, so the left hip is slightly closer to the long edge of the mat. Look at your right knee. Rotate the thigh outwardly (laterally) until the center of the knee cap is aligned with the point midway between the inner and outer ankle bones. Let the left hip come as far forward and it needs to in order to align the knee with the center of the ankle. Remember: in order to “ground” the back leg, press back on the top left thigh and allow the pelvis to turn right as much as it needs to.
3. When bending the front knee into V2, there’s a tendency to let the weight shift onto the ball of the front foot. To counter this destabilizing shift, bring half your attention to the back heel, the one against the wall. When you bend your front knee, be sure to PUSH BACK at the same time on the head of the left femur, which will drive the left heel into the wall. Think of the back leg moving toward the wall as the bending knee moves toward the front of the mat.
4. Now as for bending the front knee. It’s common, when bending, for the knee to “circle” down, that is, it rounds slightly to the inside of the foot before coming to rest directly over the heel. This isn’t a good idea over the long term. To protect the knee then, aim the INNER KNEE toward the LITTLE TOE side of the foot. Align the knee right over the heel (so the shin is perpendicular to the floor) and keep it there for the duration of the pose. If you have the flexibility bring the underside of the thigh parallel to the floor, so the knee is more or less at a right angle. Bend with an exhale.
5. After bending the front knee, it’s not uncommon for the torso to lean forward a bit. Ideally though you’d like the shoulders to be aligned over the pelvis. So allow the head of the right femur to drop toward the floor (you’re still “grounding” it) and lift the right hip point up and away. Imagine too that your tail bone is lengthening down into and through floor.
6. Now lift and outstretch the arms with an inhale. We often see the arms held too high or too low, so bring the arms parallel with the top line of the shoulders. Anatomically of course the arms are rooted in the shoulder sockets, but imagine instead they’re rooted in the mid back, between the scapulas. Reach out from this area actively through the fingertips.
7. Finally the head. Most students will naturally turn the head to look out over the front arm. This is acceptable as long as the chin dips down toward the top of the right shoulder. If your head tends to be tilted backward (or if you have any neck injuries), it would be best to avoid turning it for awhile; instead, just look straight forward. Stay in the pose for 1 to 2 minutes, breathing easily, then come up with a inhale, and reverse feet for the second side. NOTE: when moving away from the wall after performing the first side, be sure not to lunge forward onto the front leg; instead, turn the right foot forward parallel to the left, and when your weight is evenly balanced on both feet, walk your feet together.
Beginner’s tip: If you have difficulty supporting yourself in this pose, position a metal folding chair outside your forward leg, with the front edge of the chair seat facing you. As you bend the forward knee into the pose, slide the front edge of the chair seat under your thigh (taller students may need to build up the height of the chair seat with a thickly folded blanket). Then simply sit on the chair with front leg thigh.
Intermediate’s tip: To intensify the strength/lengthening of the arms, try this. Reach your arms out to the sides and the turn the palms up. Do this by sliding the shoulder blades down your back. Then without letting the blades lift, turn the palms down by rotating from the wrists.
Contraindications: Serious knee and/or back injury.
NON-NEGOTIABLES AND NOURISHMENT BY SARAH MOODY

A dear friend and teacher shared this quote in her class recently and it has stayed with me:
“True self-care is not salt baths and chocolate cake, it is making the choice to build a life you don’t need to regularly escape from.”
I used to think self-care meant loads of alone time, preferably with little to no talking, lots of bubble baths, and a guilty pleasure like a glass of wine or chocolate covered things (combined with a bath and you have a real winner of a night!), but something has shifted in me recently.
There’s a lot going in our world: we lead busy lives; we are constantly connected through devices and social media; current events are heartbreaking and demoralizing, and at times I feel small and at a loss for what to do. Sometimes I do want to escape with salt baths and chocolate cake, and while they may be short term, feel good options, they aren’t long term solutions. I want to learn how to live with more presence in every day moments, even the ones that feel uncomfortable and messy.
For me, this ‘how to’ is self-care.
I now see self-care as a way to build your life; a list of non-negotiables that support you in being your best self. This list has grown quite substantially over the years and I’m sure I could ease up a bit on not making this another to-do list, but it has truly created a richer participation with my life.
Some of my current non-negotiables:
Homemade meals — this is a must for feeling nourished and fed
Time with my husband — preferably on a bike cycling through the Oakland hills
Movement — yoga, cycling, tune up ball- and foam-rolling
Quiet time — meditation, restorative postures, yoga nidra, journaling
Study — education and inspiration through books, podcasts, classes, workshops
Epsom salt baths — because come on, they’re still great for relaxing!
What are some non-negotiables for you?
Start a list, share it with others, watch it change, and then make sure to put it into action!
Here’s some inspiration to get you going — one of my go-to dishes for that in between winter-spring season:
Raw Beet + Carrot Slaw
4 beets (any variety)
4 carrots
Green onions, thinly sliced
Hazelnuts (walnuts work great too, or any nut/seed you like), toasted and roughly chopped
1 lemon, zested and juiced
Herbs (I like parsley, mint and basil), roughly chopped
Olive oil
Salt + pepper
Roughly chop the beets and carrots. Feed through the slicer setting on your food processor. Note: if you don’t have a food processor you can cut the vegetables by hand into small matchsticks.
Transfer shredded beets and carrots into a large bowl.
Add green onions, toasted hazelnuts, lemon zest and juice, and chopped herbs to the bowl.
Toss gently to combine.
Season with olive oil, salt + pepper to taste.
To turn this into a full meal, top with chickpeas (protein of your choice), or make it your side salad to a main dish.
RICHARD ROSEN’S ASANA BREAKDOWN NO.6: ASHVA SANCHALANASANA

There doesn’t seem to be any agreement on a Sanskrit name for this pose. The most common name is Ashva Sanchalanasana, literally “to move about on a horse,” and so called the Horse Rider’s Pose. I suppose the legs here represent the “horse”–maybe we can visualize the long back leg as the horse’s “tail–the forward angled torso the “rider.” Swami Rajarishi Muni calls this the “Wide Step Pose (urukramasana), Shri Yogeshvara Nand Parmhansa calls it eka pada dvi hasta baddhasana, which he translates as Hands-on-foot Posture, though I don’t really understand how he gets that English rendition. My kindergarten Sanskrit suggests “one foot two hands bound posture.” Yogrishi Vishvketu calls the back-leg-straight variation Hero Pose (vira asana), and when the back knee is bent to the floor he calls it Horse Pose (but no “rider”); oddly, the Sanskrit word he uses for “horse’ is cetaka, which as far as I can find, means “sentient,” but not “horse.”
For our purposes we’ll call the straight-back-knee pose High Lunge, the back knee bent to the floor will be Low Lunge.
FROM UTTANASANA
1. With an inhale, lift your front torso to Half Standing Forward Bend (ardha uttanasana), bend your knees and with an exhale step your left foot back toward the back edge of your mat and put the ball of the foot on the floor (some teachers may prefer to step the right leg back first). Step back far enough so that your right knee can form a right angle, with your knee aligned over the ankle (so your shin is perpendicular to the floor) and, ideally, the underside of your right thigh parallel to the floor. If you’re tighter in the hips and groins, then your thigh might be slightly above parallel.
2. After stepping back with an exhale, lay your torso on the right thigh and with an inhale lengthen the top of the sternum (manubrium) forward. Look straight ahead. Let the head of the right thigh bone sink under the torso’s weight, but at the same time, against the firmness of the tail bone, press the left thigh actively toward the ceiling. Reach your left heel as close as you can to the floor.
3. When you’re ready to move into Downward Facing Dog, exhale and step your right foot back beside the left. Keep the pelvis heavy as you do.
FROM DOWNWARD FACING DOG
4. To return to Lunge from Downward Facing Dog during the Sun Salutation sequence, inhale and step your right foot forward between your hands. Then straighten right knee and swing your left leg forward. Be sure to keep that leg straight and strong as you return to Uttanasana.
Contraindications
Any serious knee injuries
With neck problems look down at the floor instead of straight ahead
Benefits
Stretches the groins
Strengthens the legs and arms
BEGINNERS’ TIP
Often beginners have a difficult time lightly stepping the back foot between the hands from Downward Dog. If this is the case, support your hands on a pair of blocks when you step forward. The added space between the torso and floor can make the step much easier.
HINTS FOR SUN SALUTE (surya namaskara)
1. Sun Salute (hereafter SS) can be done rapidly for exercise, or more slowly as a meditation.
2. When coming into the Standing Forward Bend from Raised Arms at the start of the sequence, don’t bring the arms forward and down; rather, swing them off to the sides as if making a swan dive. Similarly, when returning to Mountain Pose at the end of the sequence, sweep your arms again out to the sides (or bring your hands to your hips).
3. When moving from Four-limb Pose to Upward Facing Dog, try not to push your torso up and back, compressing the lower back. Instead, lift your torso up and forward and lengthen the tail bone toward the heels.
4. To move from Upward Facing Dog to its Downward complement, generate the movement by pressing back on the heads of the thigh bones. Let the arms and torso “stream away” from the legs.
5. Watch your breath carefully. Whenever folding the front torso exhale, when opening the front torso inhale.
LETTING GO OF REDUNDANT YOGA MANTRAS IN 2018: WHAT DO WE MEAN BY THE MANTRA “NAVEL TO SPINE”?

By Mary Paffard
Yes, I know it’s common parlance in many pilates and yoga classes. This term is used as a kind of blanket command that will get the deeper abdominal area engaged. But does it? Most folks respond by activating an area of the upper abdomen, sometimes hardening around the diaphragm, and rarely glimpsing the delights of a connection in the hearth of the deep lower abdominal area. This navel to spine rant encourages superficial muscular support rather than any sense of awakening this extraordinary 2ndchakra, back pelvis vitality. It also leads to another mantra that still has some kind of vibrancy in yoga circles “Tuck the Tailbone!”
Admittedly both mantras can be precise and useful occasional yoga instructions. But as mantras they have done so much long term damage. Why? Because they both undermine the entire freedom and stability of the spine as a curved and fluid structure, they bring an aura of “control” versus “explore” to our practice. If you look at animal like a dog or cat who is fearful…what do they do? What do we do if we are afraid? We tend to tuck and close down vulnerable areas like tail and belly! On some simplistic logic, it makes sense to lengthen the spine in this way if your lower back is achey, but it’s a very temporary solution. With the often accompanying instruction to bring “navel to spine”, we end up flattening the sacral area and cultivating pelvic instability and hip joint issues. Never mind an overly “tight ass” which we deludedly consider some form of Mula Bandha!
“Navel to Spine” became de rigeur when the Pilates world infiltrated the yoga studio world. I often send folks to skilled Pilates teachers. Joe Pilates was originally inspired by yoga to help prevent the kind of injury and instability that is becoming more common in regular practitioners who perform both mantras over assiduously. Again, navel to spine has its place as does occasional tucking and rounding, but how many more hardened diaphragms, flattened spines and lack of awareness in the lower extremity do these mantras need to create? Could we not use a little more variety in our language and seek more than “tight abs and arse”?
Join me on February 11 at our Oakland studio for a deeper understanding of the abdominal area and using the interior body to support inversions and more challenging poses.
Mary Paffard has been teaching and training teachers nationally and internationally since 1985. For more information about Mary visit www.maryyoga.com.
Our Blog
Check out the latest Articles: