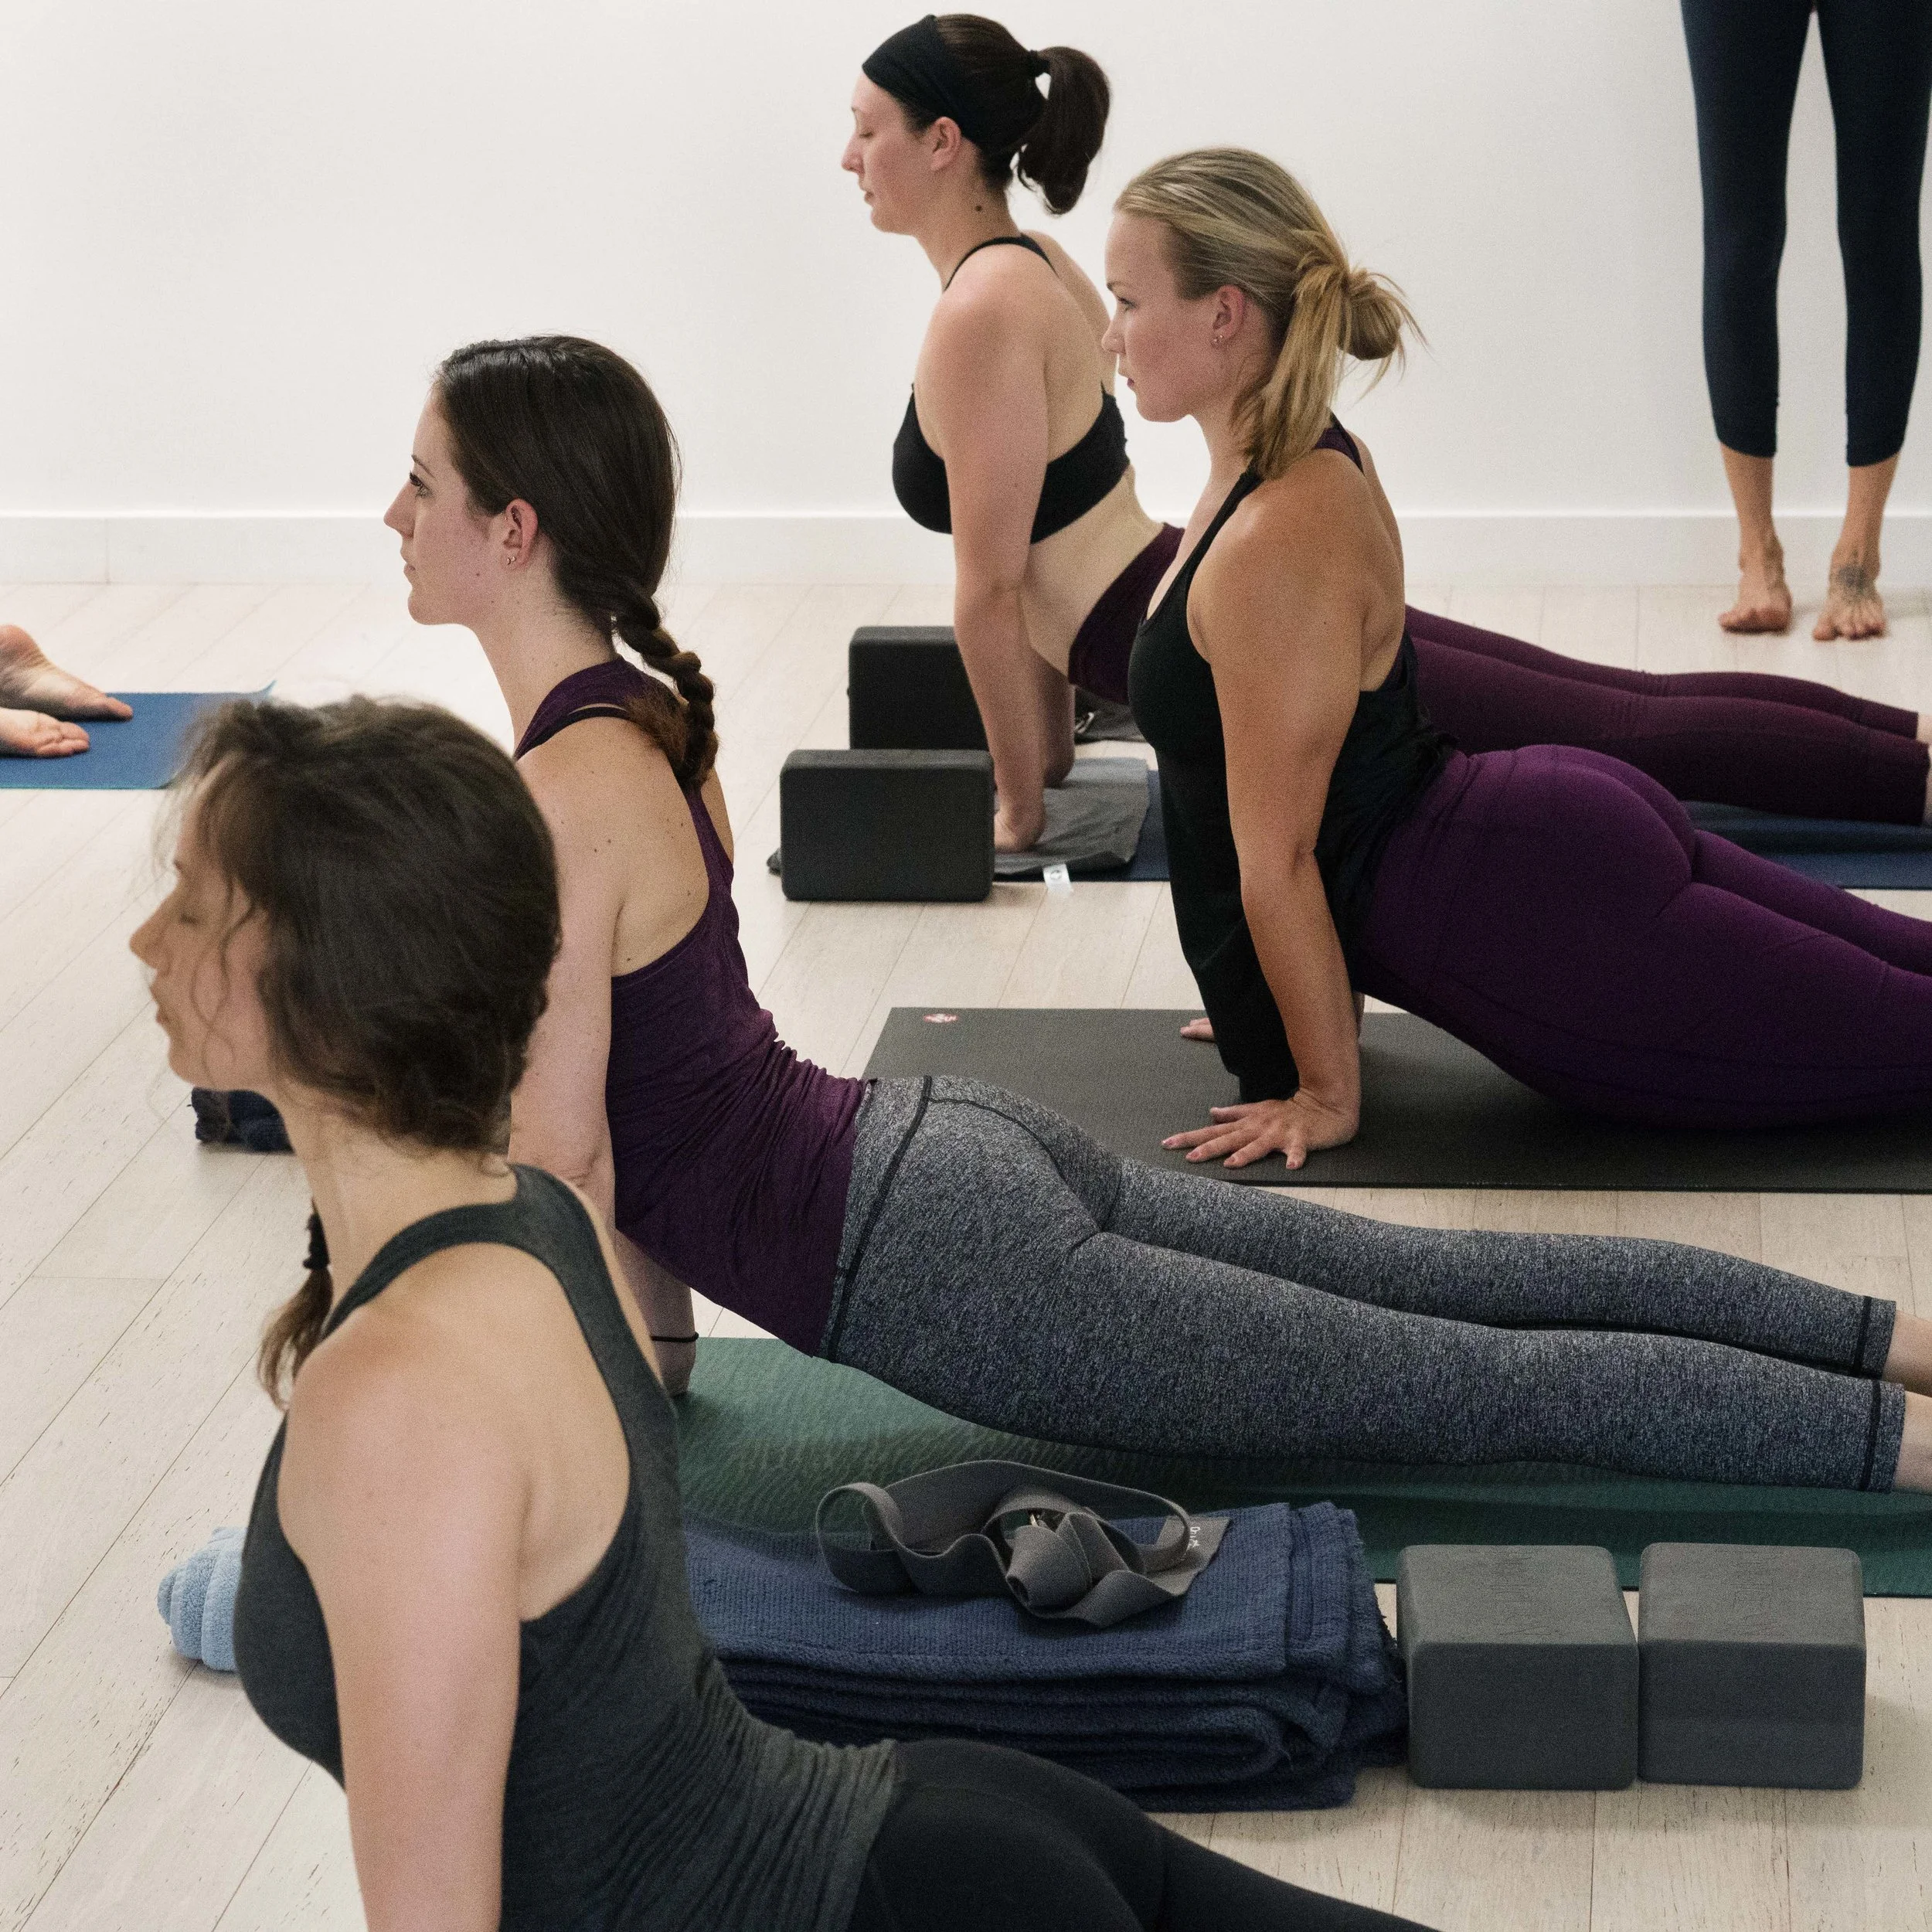
TADASANA
(tah-DAH-suh-nuh)
tāda = mountain (PRONUNCIATION NOTE: the “d” in this word is what’s called a retroflex. If it were properly transliterated from Sanskrit to Roman characters, it would have a small under-dot [the word processor used for this column can’t create that]. It’s not possible to describe in words what the “d” should sound like. It’s pronounced by curling the tongue back in the mouth and “flicking” its tip off the roof of the mouth. Be aware too that the first “a” is long [indicated by the small horizontal line over it, called a macron], and so pronounced “ah” like the “a” in father.)
There are at least two other traditional names for this pose, ghanasana (“compact, solid, complete” ) and utthitasana (“elevated, eminent”). Some modern yoga schools call this pose sama sthiti (sama = even; constant; straight; sthiti = standing upright).
1. Stand with your feet slightly apart. On each foot, draw a line down midway between the inner and outer ankles and out across the top of the foot to the toes. Generally the line runs out along the second toe (next to the big toe). Bring these two lines parallel to each other, the inner feet are then usually either parallel to each other or slightly turned in. Make sure the tips of the big toes are touching the same (imaginary) line.
2. Draw the knee caps up toward the thighs by activating the front thigh muscles (quadriceps). Be careful not to “straighten” the knees by pushing the caps straight back into the knee joint. When the knees are properly straightened, the caps like a pair of eyes look straight forward; when the caps are pushed back and the knees “locked,” then they turn in slightly as if looking toward each other.
3. Lengthen your tail bone downward, toward your heels. Be sure not to “tuck” it forward toward the pubis; rather, think of growing down along the backs of your legs and out behind you on the floor like a long kangaroo tail.
4. Firm your shoulder blades against your back, but be sure not to squeeze them together, broaden them away from the spine. Imagine the lower tips of the blades firming up and into the back, that is, diagonally toward the top of the sternum bone (breast bone). Then lift the top of the sternum, be sure not to push the bottom of the bone (xiphoid) forward. Hold it down and into the torso.
5. Widen the collar bones (clavicles) across the top chest. The width across the upper front torso should match the width across the upper back. Allow your arms to hang comfortably by your sides, hands relaxed.
5. Release the base of the skull away from the back of the neck. This is more of an imaginary action than a physical movementWhen you do this, you may feel a slight tug on the crook of the throat, where the front of the neck and underside of the chin meet. Lift the crook into the head diagonally toward the top of the spine (atlas).
6. Finally close your eyes and rock slowly side to side and front to back. Exaggerate the rocking at first, then slowly diminish the movement until you come to a stop with your weight evenly distributed on and between the soles. Stack the five “domes” of the body one atop the other: the foot dome (composed of the joined inner arches), the perineum, the diaphragm, the soft palette, and the cranial vault (the crown).
-Benefits: Helps teach the physical body proper physical alignment, which serves as a template for all the standing poses.
-Contraindications: None.
Beginner’s tip: Practice this pose with your back to a wall. To begin, bend your knees slightly and then straighten them, feel the shoulder blades and tail bone drawn down toward your heels. Use your hands to gently lift the base of your skull away from the back of the neck. Then bring your arms alongside your torso and lightly press your hands against the wall, moving your back slightly away from its support. Stay for a minute or two, feeling the release down the back from the shoulders to the tail, and the lift of the skull base off the nape.
Intermediate’s tip: To increase the challenge of this pose, bring your inner feet together to narrow your base of support. Then to go a step further, close your eyes and use your “inner sense” (and not relying on outside, visual clues) to establish and maintain the balance in the pose.
URDVHA HASTASANA
(oord-vah hahs-TAH-suh-nuh)
urdhva = raised (or upward)
hasta = hand
Urdhva Hastasana literally translates to “Raised Hands Pose,” but it is also sometimes called Talasana, the Palm Tree Pose (tala = palm tree).
1. Stand in Tadasana. Turn your arms outward (or laterally) so your palms face forward and thumbs point away from your body and out to the sides. With an inhale, sweep each arm in a wide arc out to the sides and up toward the ceiling.
2. If your shoulders are tight, stop when your raised arms are approximately parallel to each other. But if possible without lifting your shoulders up to your ears, press your palms firmly together. Start that by touching the bases of your palms, then the palms themselves, and finally the fingers.
3. Extend your elbows fully and reach up through your pinkies so your thumbs turn slightly down toward your crown. You can look straight ahead or tip your head back to gaze up at your thumbs, but make sure not to compress the back of your neck.
4. Be aware that when you raise your arms overhead there’s a tendency to push the lower front ribs forward. This in turn can compress the lower back, not a healthy situation. Be sure then to keep the front ribs down (toward your pelvis) and in (toward your spine), and lengthen your tail bone toward the floor. Try to lift your back ribs faster than the front ribs so the rib case moves evenly away from your pelvis to stretch the circumference of your belly between pelvis and ribs. For the first time through the Sun Salute series, hold this position for a few breaths.
5. Then exhale and sweep your arms out to the sides as you tip your torso forward from the hip joints to fold into Uttanasana (Standing Forward Bend). Whenever you move from Raised Arms to Standing Forward Bend, always sweep your arms to the sides, never come down with your arms straight forward. The movement made this way adds an unhealthy load to your lower back. Be sure too to tip forward from your hips, not round down from your belly. Ideally you’ll lengthen the space between your pubis and navel as you move from standing or sitting to a forward bend.
-Benefits
Stretches the shoulders and armpits.
-Contraindications (in addition to those of Tadasana): Avoid the raised arms in this pose with shoulder or neck injuries.
Beginner’s tip:
To help strengthen the arms and extend the elbows more fully, squeeze a foam block between your palms. Be sure the bases of the palms are pressing the block. You can start by pressing the ends of the block at its widest width, then switch to the block’s middle width, and finally if possible for you, the faces of the block.
Intermediate’s tip:
It’s also possible to raise the arms with the hands clasped. To do this, interlock the fingers and then reach the arms straight forward from the shoulders, parallel to the floor. Turn the palms away from the torso and stretch the thumbs down toward the floor, draw them back toward your torso, and press out most actively through the bases of the index fingers. From here, swing the arms up and overhead. Once in the raised position, draw the thumbs down toward the floor and press up through the bases of the index fingers, opening the palms toward the ceiling.