
RICHARD ROSEN’S ASANA BREAKDOWN NO. 3: URDHVA MUKHA SHVANĀSANA
URDHVA MUKHA SHVANĀSANA
(erd-vah moo-kah shvun-AHS-uh-nuh)
urdhva mukha = face upward (urdhva = upward; mukha = face)
śhvana = dog (SPELLING/PRONUNCIATION NOTES: 1) There are three sibilants in Sanskrit. The simple “s” is pronounced exactly like the Roman “s”; say “so.” The second sibilant is called a palatal “s,” it’s marked with what the French call an “accent acute,” it looks like this (ś) and is pronounced like the “sh” in shave. The third sibilant is called a retroflex “s,” it’s marked with an underdot, it looks like this (ş) and is pronounced much like the palatal “s” except that the tip of the tongue is turned back in the mouth (hence it’s retroflexed) and flicked off the roof.
2) In Sanskrit, when a “v” follows a consonant it’s often pronounced as a “w.” The best known example of this is the word “swami,” which when properly transliterated from Sanskrit to the Roman alphabet is actually spelled “svami.” When the early English visitors to India heard this word pronounced, they naturally spelled it with a “w” replacing the “v.” “Shvana” then sounds something like “shwana.”
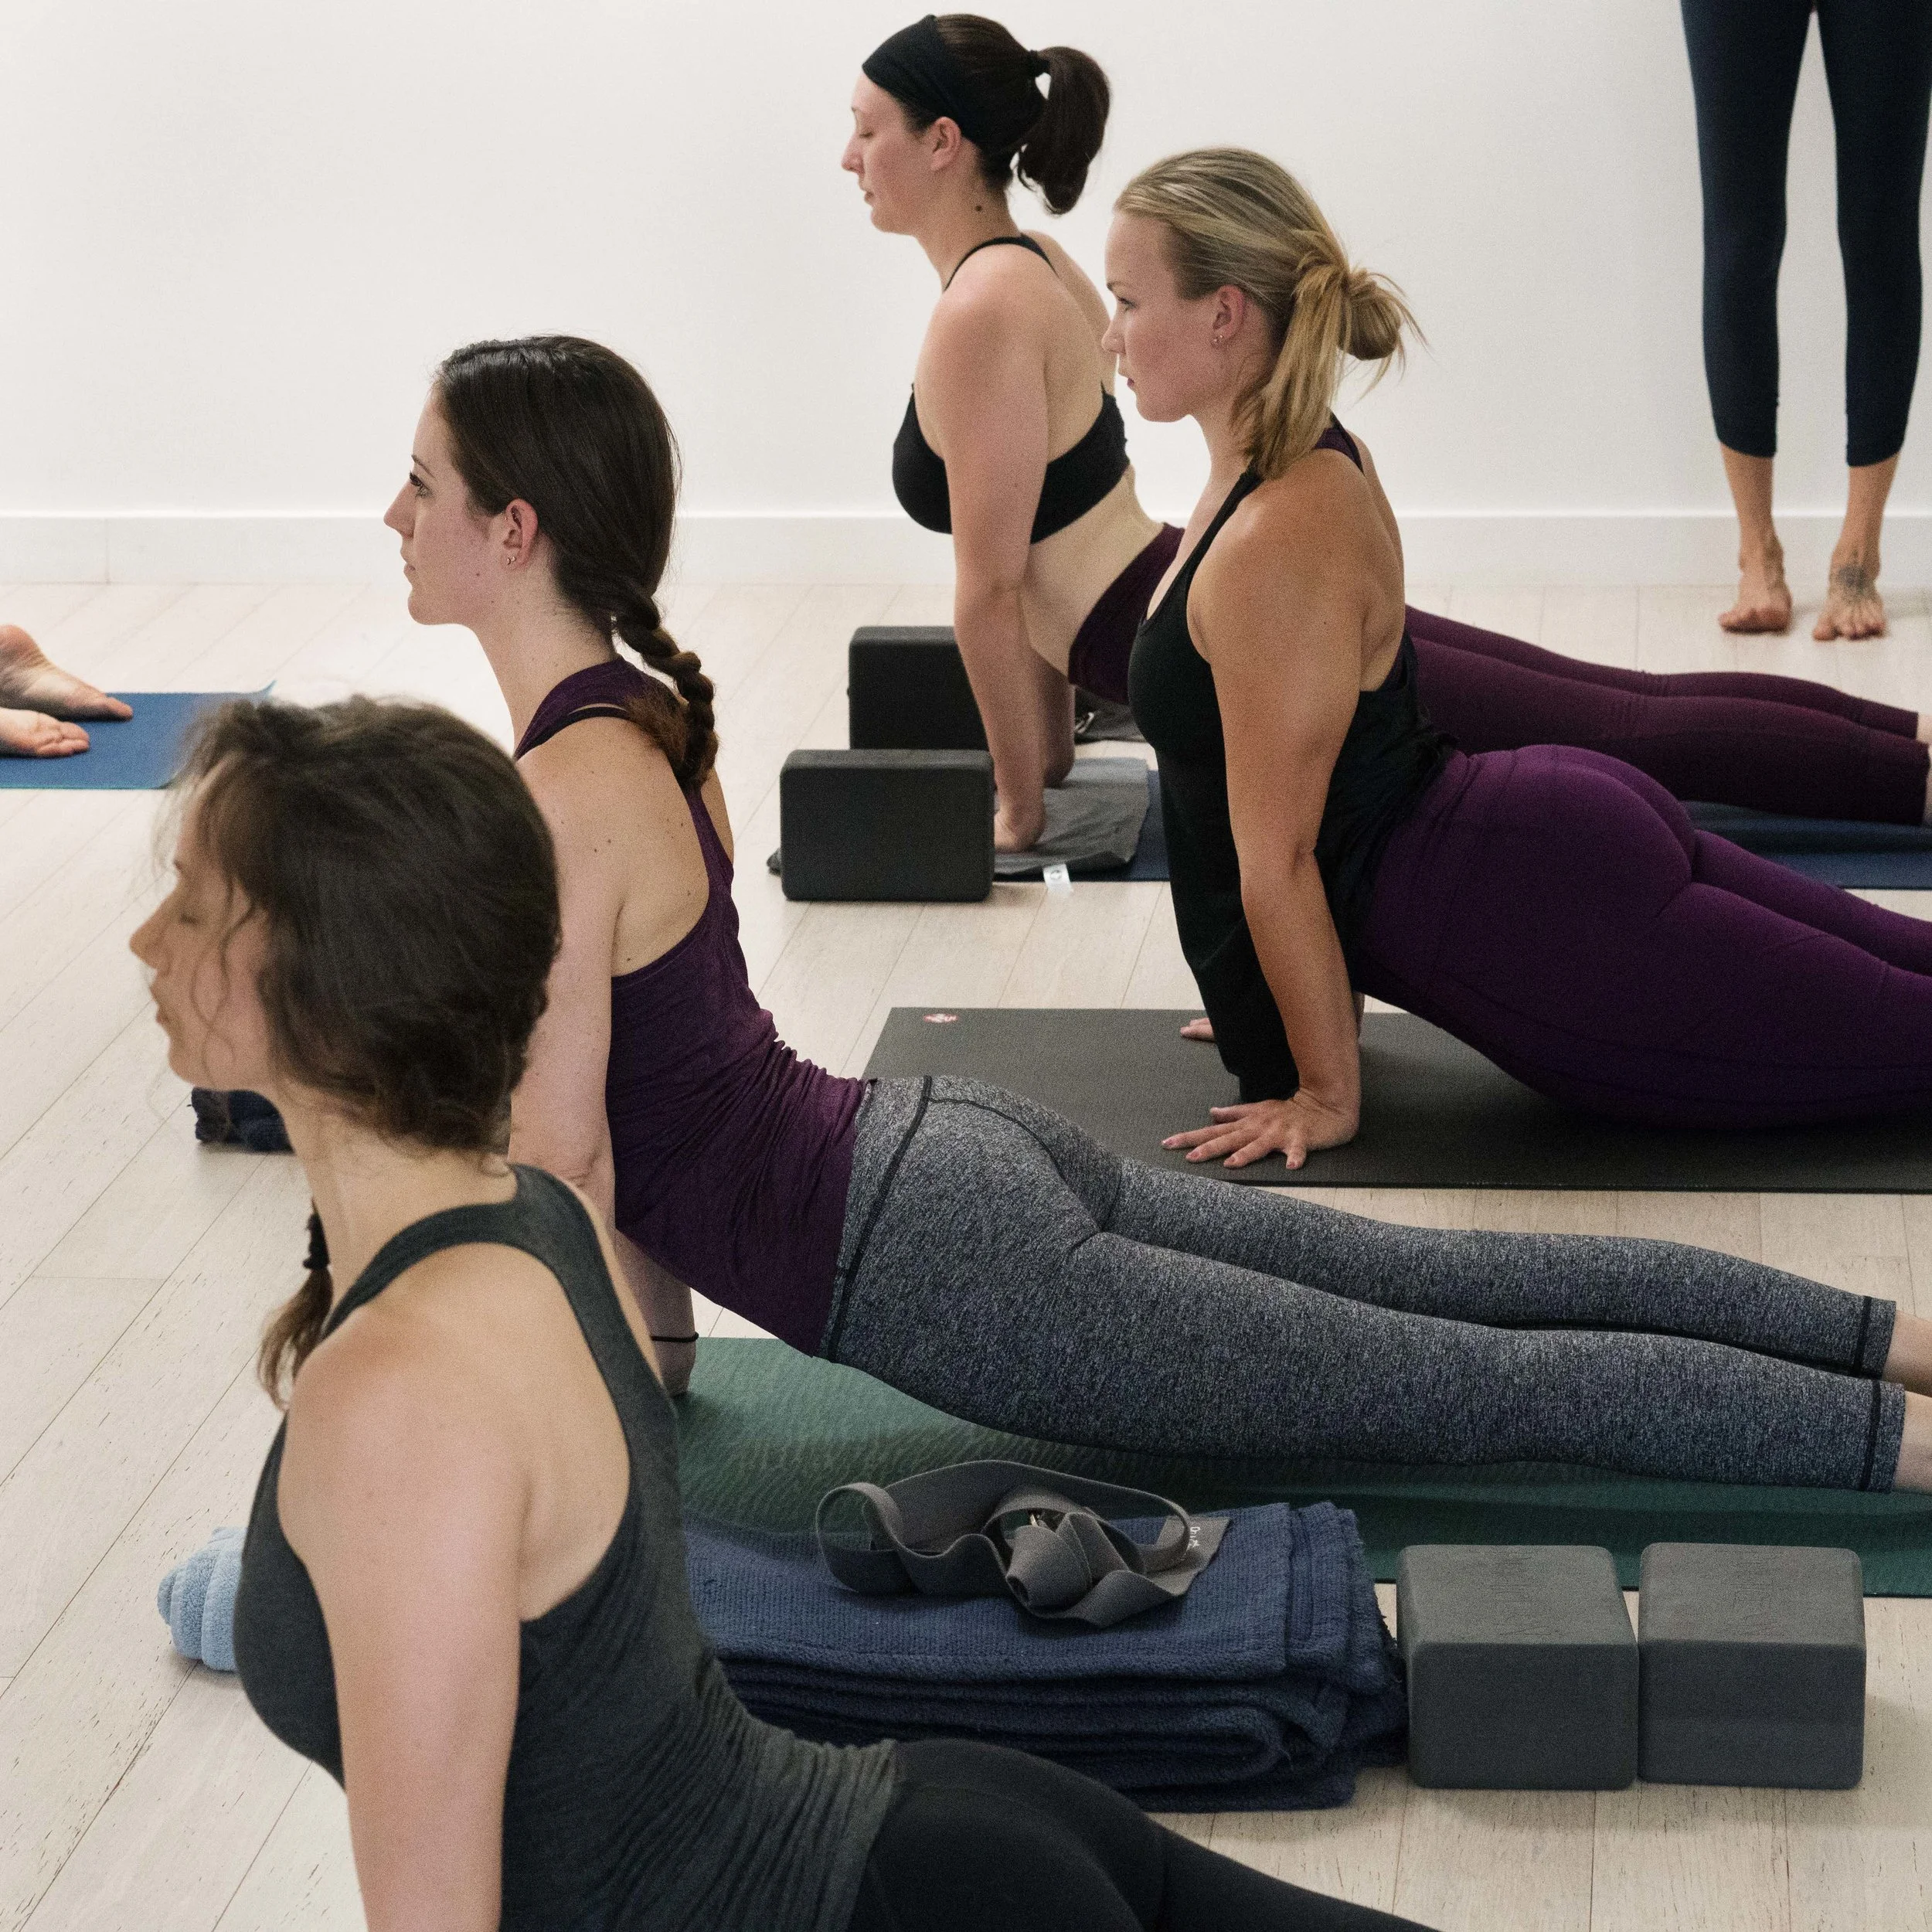
Upward Facing Dog Pose
1. Lie face down on your mat, with your hands pressed to the floor beside your waist, fingers pointing forward. Your elbows will then be approximately at a right angle, with your forearms perpendicular to the floor, upper arms about parallel. Press the tops of your feet to the floor as well. As with all back bends, rotate your thighs inwardly (that is, medially); in this position, such rotation will bring the little toes to the floor. Make sure they stay “pinned” there as you move into and hold the pose.
2. Along with bringing the little toes to the floor, the inward thigh rotation will push your tail bone out of the pelvis and so slightly over-arch your lower back. Moving into any back bend with this “duck tail” will overly compress the lower back. Do this repeatedly and the risk of injury increases considerably. you’ll practice of back bends (or any kind of pose for that matter) with this deep compression drastically increases the risk of injury.
3. To counter the “duck tail,” clasp your hands (that is, inter-lace the fingers) behind your back and press your thumbs on the sacrum. Then slowly slide your thumbs down across the tail bone and imagine that it’s lengthening along the backs of the legs toward the heels. Repeat this thumb-slide a few times until you have a clear sense of how to re-create the movement without using your hands. Then return your palms to the floor.
4. When you move into the pose, your hands and arms should do two things. First, obviously, your hands must press firmly against the floor, the greatest pressure focused on the bases of the index fingers, NOT the bases of the palms. Second, your hands should “scrub” backward away from the front of your mat (“scrub” means to press the hands in a certain direction without physically moving them). Imagine you’re trying to push your mat toward whatever’s behind you. Generally speaking many beginning students lift into Upward Dog by pushing their torso up and back, jamming the lower back. The “scrubbing” of the hands should help the torso lift up and slightly forward, avoiding the deep compression of the lower back.
5. Lengthen your arms (that is, straighten the elbows) as much as you can, firming the muscles at the backs of the upper arms (triceps) against their bones. Be sure your shoulders are pulled down away from your ears.
6. The thighs firm as you lift the torso and the entire length of the front legs lift slightly off the floor. Press the tops of your feet to the floor, applying the greatest pressure on the area just above your toes. Then imagine that a partner is pulling your heels away from the backs of your legs. This action of the heels away from the backs of the legs ideally triggers the shoulder blades (scapulas) to move oppositely and press against your back torso.
7. To repeat, the torso should move up and forward into the full pose. Try to keep the front ribs tucked down and into the torso and lead the upward lift with the top of the sternum (manubrium, the “handle”).
8. Beginning students should look straight ahead. More experienced students who can release their shoulders and firm the shoulder blades against their back can bring their head slightly back, as long as they don’t compress the back of the neck.
9. As with all backbends, lift into the pose with an inhalation. Urdhva Mukha Shvanasana is one of the positions in the Sun Salutation sequence. You can also practice this pose by itself, holding anywhere from 30 seconds to a minute, breathing softly through the nose, and come down on an exhale.
Benefits.
As with all modern poses, the claims made for Upward Dog’s benefits should be seasoned with a grain of salt. That’s because they’re largely anecdotal, and have no “scientific” support (especially since Light on Yoga was published in 1966, before any broad based medical testing of benefit claims). Mr Iyengar writes that this pose “rejuvenates” and “strengthens” the spine, which we can readily accept IF the pose is performed safely. He also says it’s “good for persons with lumbago, sciatica … and slipped or prolapsed discs of the spine,” and that it “cures backaches.” All this may be true to some extent, depending on the seriousness of the injury, but with any of these conditions you SHOULD ONLY BE PRACTICING UNDER THE SUPERVISION OF AN EXPERIENCED TEACHER. He also credits the chest expansion encouraged by the pose with making the lungs elastic (which we can assume improves breathing). He concludes that the blood flow in the pelvis keeps that area “healthy” (Light on Yoga, 85).
Contraindications.
As noted above, avoid this pose unsupervised with any serious back, neck, or spinal problem or injury. Students with wrist problems should, depending on the seriousness of the problem, either support their hands on a pair of blocks or a chair. See the Beginner’s Tip below.
Beginner’s Tip.
Beginning students who find it difficult to release the shoulders down away from the ears or straighten their elbows fully should support each hand on a yoga block. If the blocks don’t help, then the pose can be practiced with the hands grasping the sides of a chair seat.