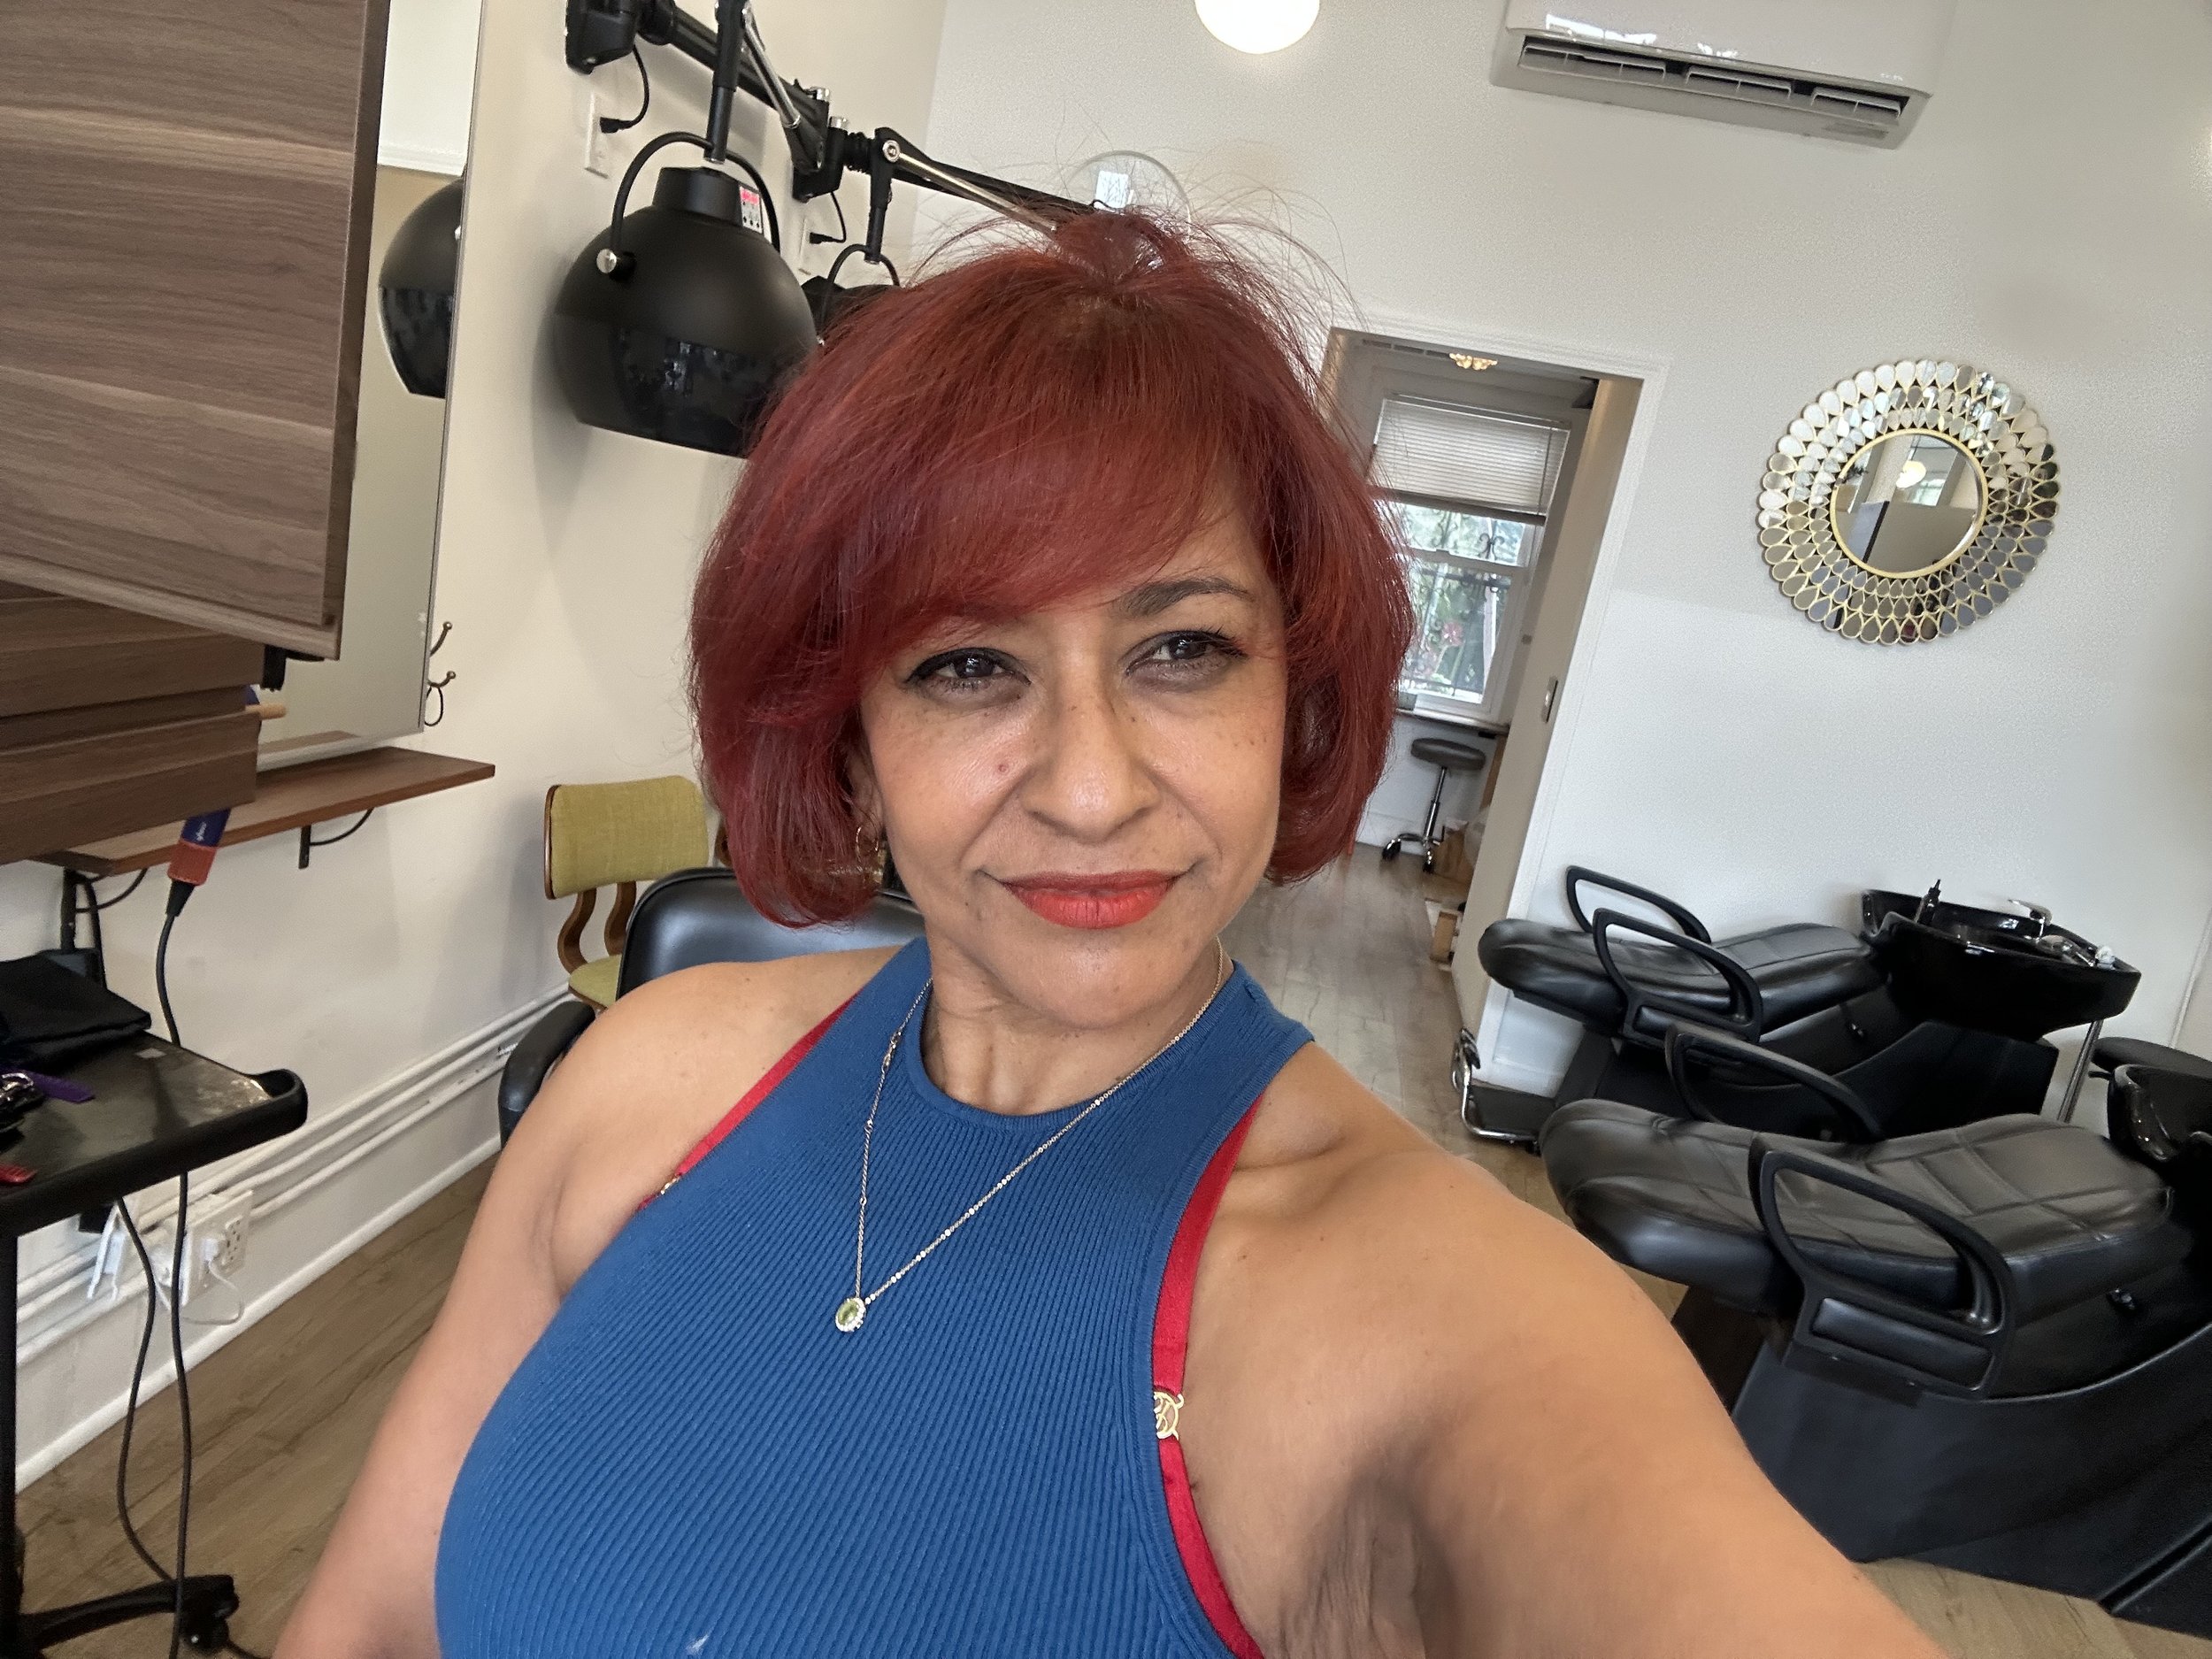
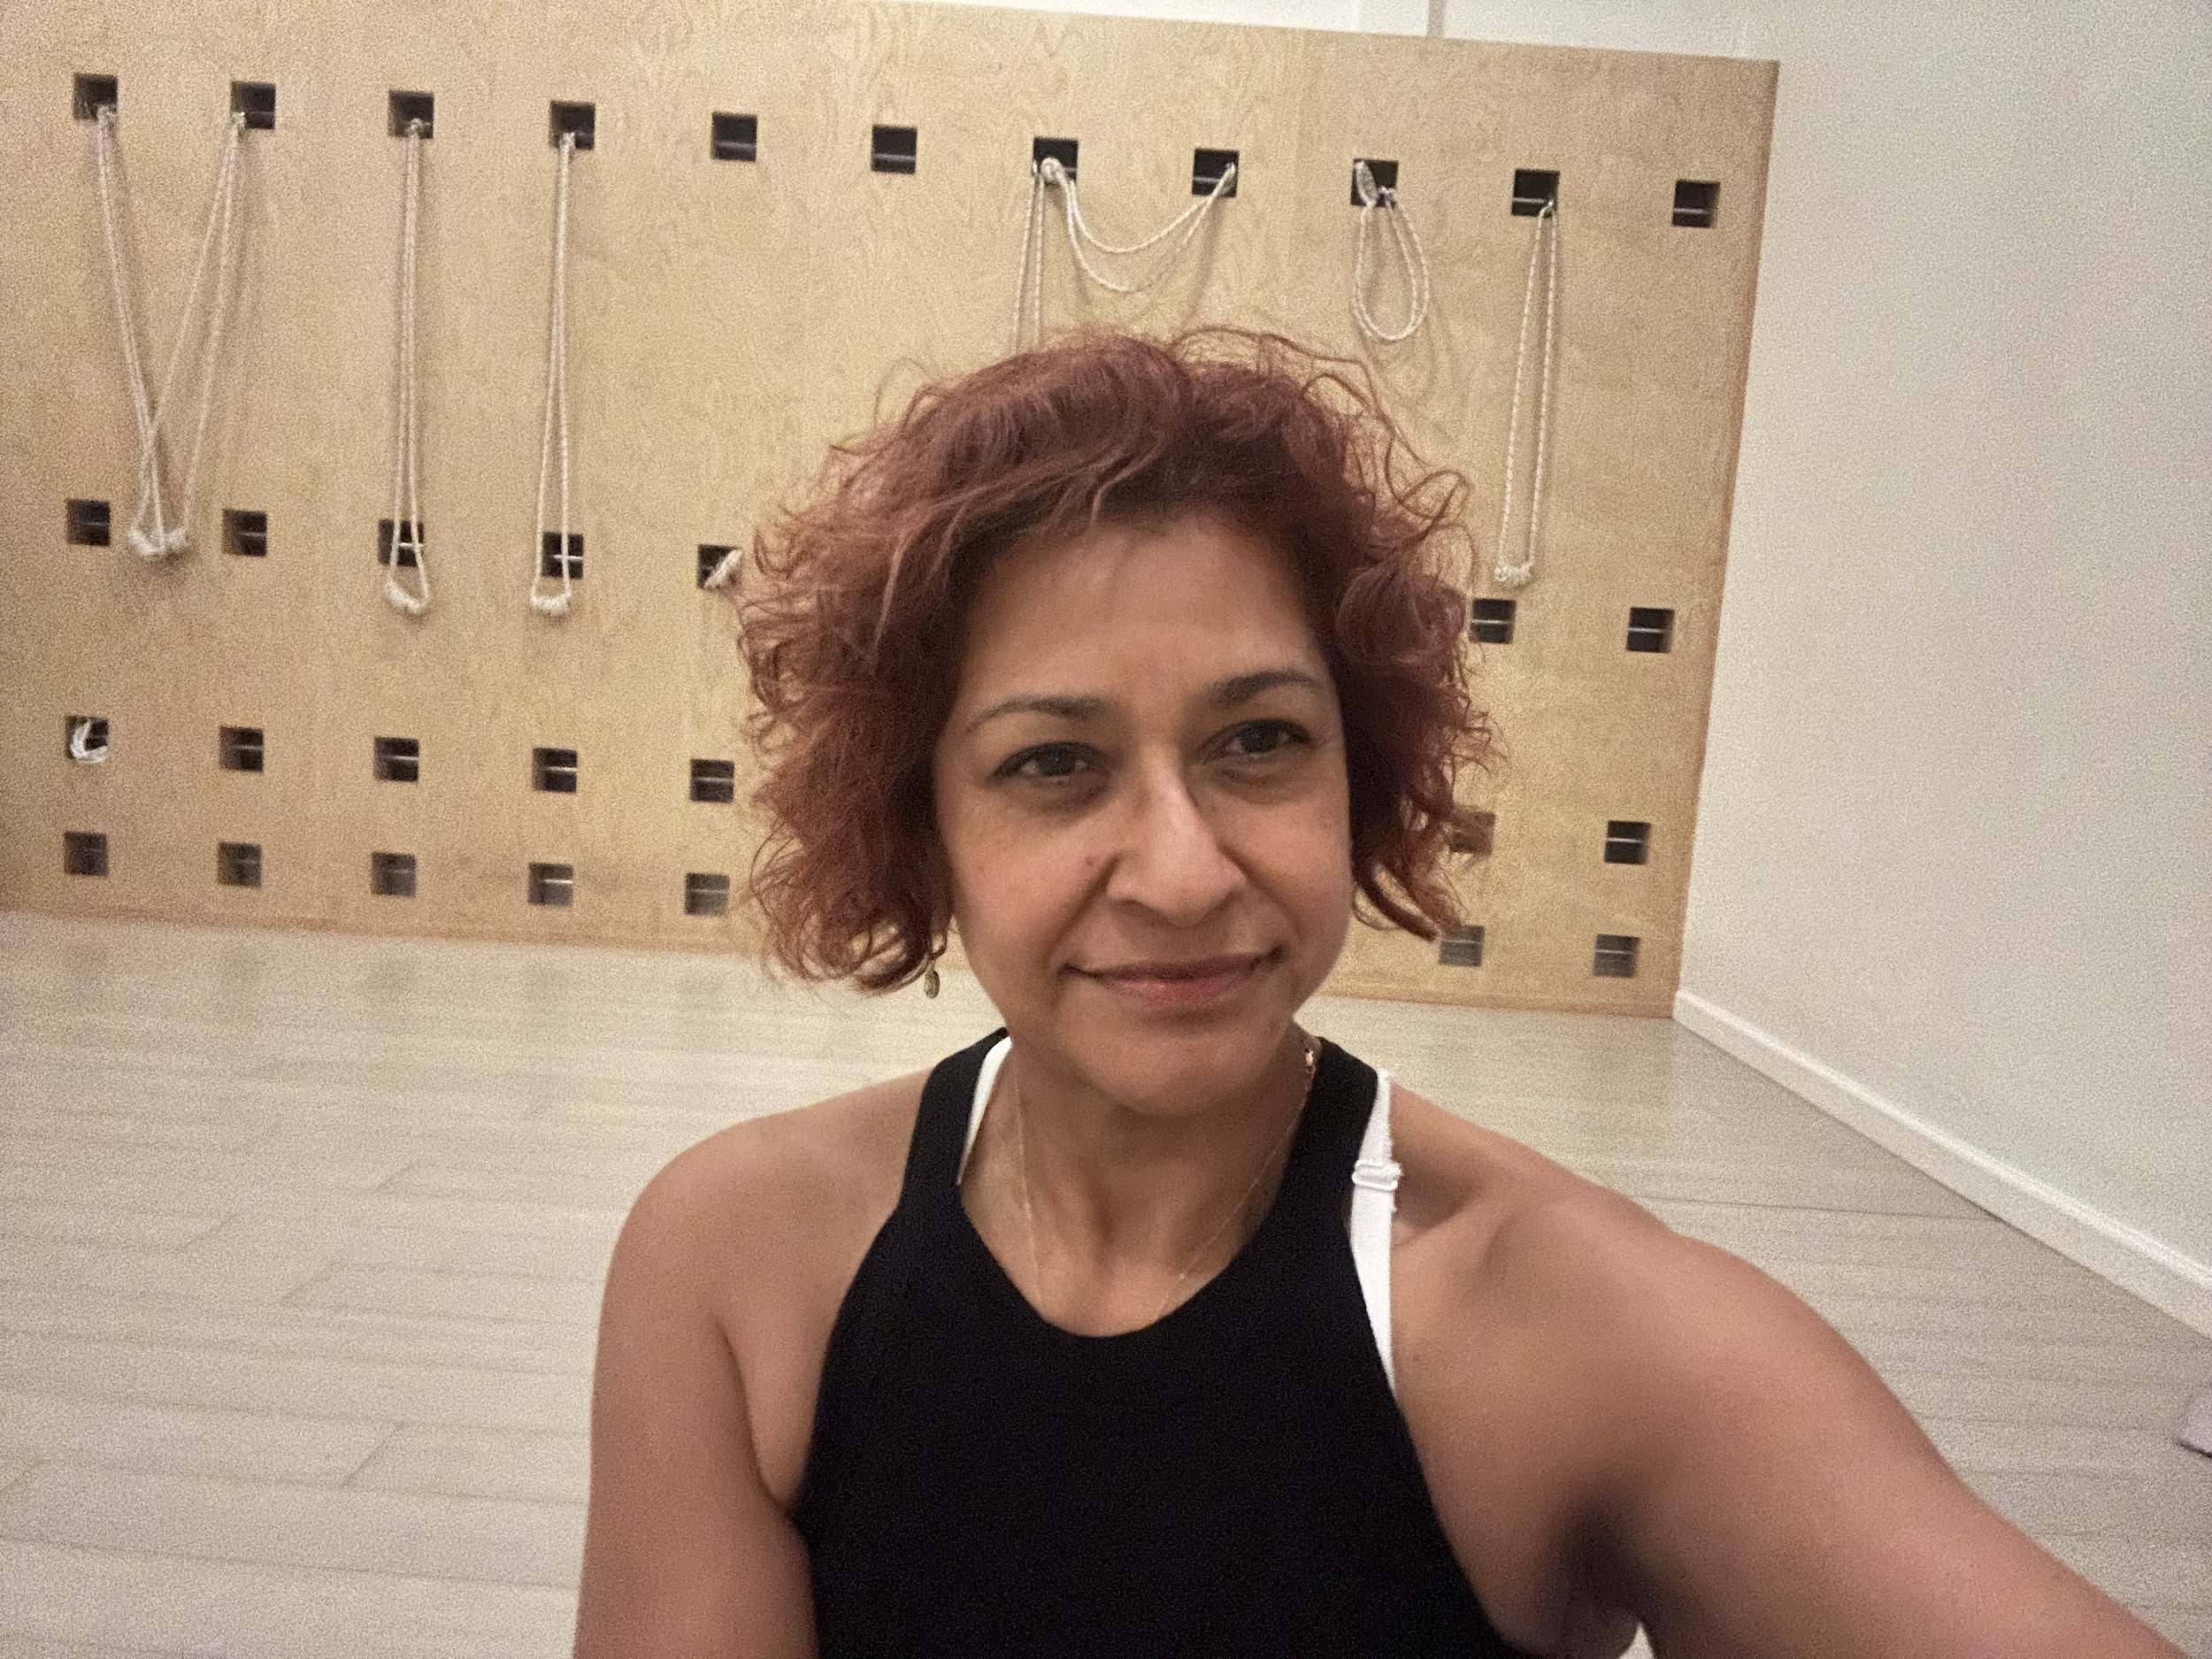
Richard Rosen's Asana Breakdown: PARIGHĀSANA

PARIGHĀSANA (puh-ree-GHA-suh-nuh)

The pose we know today as parighāsana is actually the third in the yoga tradition to bear that name. The oldest version, which goes back at least 225 years, looks a lot like what today we call ardha navāsana (Half Boat) except in this pose the legs aren’t raised up off the floor. The second one, which I’m unable to date, looks a lot like paripurna navāsana (Full Boat) except here the forearms are crossed behind the head. 

Our version of the pose is found in Light on Yoga, which was first published in 1966. Mr. Iyengar translates parigha as “gate latch,” which approximates the word’s primary definition, “an iron bar or beam used for locking or shutting a gate.” (For more on the definition of parigha, see the postscript at the end of the breakdown). The shape of the pose does look quite a bit like a bar fixed diagonally across a gate (as does the second one above, with its diagonally lifted torso and legs). It’s one of the few poses among the 198 in LoY that’s a true side bend, in which one side of the torso is stretched to the max, while the other side is deeply compressed. 

TO BEGIN. Kneel down with your right side to a wall, about a leg’s length away, or lacking a wall, with a block a leg’s length off to your right side positioned at its lowest height (on one of its faces). If you’re using a block, be sure it’s set on the sticky mat so it doesn’t slide away from you when you press your foot against it. Stretch your right leg out to the side, press your heel to the floor and the ball of your foot to whatever support you’re using, so your toes point up to the ceiling. Position your left knee directly below the hip so your thigh is perpendicular to the floor. Pad the knee it with a blanket if needed. As always, be sure NOT to push the kneeling-side hip back; that is to say, with your right side to the wall, turn your torso a bit to the right so the left hip is slightly closer to the edge of the mat than the right. Rotate your right thigh so the kneecap is looking straight up to the ceiling. If you tend to hyper-extend your knees, put a block under the straight leg calf. You might also have a second block handy to support the underside hand.

THE PRACTICE. With an exhale, ROUND your torso to the right. If you’re used to lengthening your torso evenly side-to-side, as in Triangle, this may feel a bit odd. You’ll get accustomed to it soon enough and hopefully come to enjoy that satisfying stretch along the side torso. We tend to stretch the front and back of the torso, but rarely focus on the sides. Reach your right hand to the floor, or rest it on a block if the floor’s too far away. Brace your arm against the inner right leg and use the pressure to turn the UPPER torso to the left. When you feel ready, swing your left arm over the left side of your head. If you’re at a wall, press your fingertips against it. To go farther, walk your hand up the wall and slightly behind your head. Then push the wall forward, firm your left shoulder blade against your back and do a little back over the shoulder blades. 

If you’re not at a wall, do your best to reach the top arm away from the torso. Be aware that this reach won’t be as effective as it would be pressing a wall. In either case, inhale into the left side to create more length, exhale from the right side to help it deepen. It’s best to hold your head in a neutral position. Stay from 30 seconds to a minute, then come up gracefully with an inhale. Turn around and repeat on the left side for the same length of time. 

VARIATION. If you like, after rising from each side, you can turn the toes of the kneeling leg’s foot under to slightly raise the heel, then with an inhale, lean back for the heel with the same side hand. If the heel is too far away then use a block beside your foot at its tallest height to support your hand. You can then raise the off hand and stretch along the side that was just compressed. Stay for 15 to 20 seconds. Come up with an inhale, leading with the sternum, letting the head trail.

To go even farther, twist your torso toward the straight leg and lean back for the heel with the opposite side hand, again raising the off side hand. This will add a slight twist to the back bend. Again remain 15 to 20 seconds. To come out of this position, be sure to de-rotate the torso first before lifting up with an inhale. 

You may note that in LoY Mr. Iyengar demonstrates the final pose with his hands, palms touching, resting on the top of the straight leg’s foot. I don’t believe it’s necessary to go to this extreme to achieve a useful stretch. 

POSTSCRIPT. I’m pretty sure most languages have their quirks–certainly English does–and Sanskrit is no exception. The word parigha, which names the pose of this month, is a case in point. In BKS Iyengar’s Light on Yoga it’s translated as “gate latch,” which isn’t far off from the first entry in its definition, “an iron bar or beam used for locking or shutting a gate.” Nothing strange about that, but wait, we’re just getting started. The next entry is a little more general, “a bar, obstacle, hindrance,” which is exactly what an iron bar used as a gate latch is supposed to do. Then without warning our innocuous seeming gate latch/iron bar assumes a considerably more lethal function as “an iron bludgeon or club studded with iron.” It appears that the “gate latch” which is in place to keep people out can also be turned against trespassers on the property protected by that gate. The next entry is quite ingenious, it applies the idea of an obstacle or hindrance to a child presenting “a peculiar cross position in birth.” Apparently the poor baby is its own “gate latch,” blocking its way through the birth canal.

With the next two entries we leave the realm of the comprehensible and wade into murky backwaters of Sanskrit definitions. These often seem as if someone randomly tacked on definitions drawn from other, totally unrelated words just for the fun of making Sanskrit even harder to understand (of course we can’t discount the very real possibility that these definitions make perfect sense, rendered strange only because of some blindness in my kindergarten-level Sanskrit). 

The first of the two is “a line of clouds crossing the sun at sunrise or sunset.” My best guess is the “line of clouds” is reminiscent of a bar fitted across the sun, making an always futile attempt to block our star’s rise or set. I invite your comments on this one, and while you’re at it, why on only “sunrise” and “sunset”? Second up is an entry which isn’t so much that it’s strange in itself, but in the context of the preceding definitions, which is: “two birds flying on each side of a traveler (regarded as an omen).” I Googled this set-up and found that, generally speaking, it’s a good omen, suggesting things like spiritual awakening, some hard-earned reward coming our way, or that you might be in love (though in my experience this might be either a good thing or bad). But this answer wasn’t specific to India, so the jury’s still out. 

Bringing up the rear are some random entries. One makes perfect sense, “killing, striking, a blow,” just what we might expect from someone swinging an iron bar. But then we find our iron bar magically transformed into a “pitcher or water-jar,” most likely a fairly heavy one. Finally we’re told parigha is the name “of one of the attendants of Skanda,” the Hindu god of war, no doubt armed with an “iron bludgeon,” who is, nevertheless, in the end “a virtuous man.” Aham Brahman asmi. 

Richard Rosen's Asana Breakdown: PARŚVOTTANĀSANA

PARŚVOTTANĀSANA

parśva: side, flank

uttāna: stretched out, spread out, lying on the back, upright (from tan, to extend, in English, tend, tense) 

āsana: seat

The Sanskrit word parśvottanāsana is composed of three smaller words, parśva, uttāna, and āsana. We’re all quite familiar with this last word, āsana, which nowadays is typically rendered as “pose” or “posture,” but which literally means, “seat” (derived from the verb ās, “to sit”). That little horizontal line above the the initial ā, called a macron, indicates the vowel is long (as opposed to the unmarked, short a). This is called a “heavy” vowel which means it takes the emphasis in the word, so it’s pronounced AH-sun-uh. 

Now what about those other two words, parśva and uttāna? The accent mark above the first word’s s indicates it’s palatal, and so pronounced like sh, parsh-vuh. Uttāna has another long ā and so is pronounced oo-TAHN-uh. Look at the definition of this word and you’ll see one of the several oddities (to us English speakers) of Sanskrit. Many Sanskrit words have a wide range of meaning. Sometimes two of the meanings have no obvious relationship or might even be  contradictory. My Sanskrit is still pretty kindergarten-ish, but it seems uttāna means both to lie supine and be upright.

You may then notice something odd about the word parśvottanāsana. Where does that o near the middle come from, there’s no o in any of the three smaller words? In Sanskrit several words in the same sentence or between sentences are often blended into one word, as here. This blending is called a “junction” (sandhi), and there are a host of rules governing this process. It sometimes results inextremelylongwordswithnobreaks, and unless you can decipher the sandhis, good luck understanding what’s being said. The sandhi here is very common: when the final a of a word, like parśva, is immediately followed by a word beginning with u, the two vowels join and an o is born. This is the same sandhi we see in the three letters of aum, the a and u of which becomes om. Welcome to Sanskrit 101. 

I bring this up because we live through sandhis every day of our lives, at least two, sometimes, depending on the source, three or four. These are the times of transition between darkness and light, dawn, and light and darkness, sunset (sometimes noon and midnight are added). It’s said that these are the most propitious times of the day to practice, when the balance between external light and dark is believed to have a sympathetic balancing effect on the energies of our body, a highly desirable state for yoga practice. 

In the Iyengar system parśvottanāsana is performed as part of a very simple vinyasa, moving from the first side to the second by swinging through prasārita pādottānāsana 2 (notice the o in the second word, it’s the result of a sandhi between pada, “foot,” and uttānāsana, the name given to the basic standing forward bend). I’ll describe this movement near the end of this article.

One more thing to know about the customary way this pose is performed concerns the position of the arms and hands. You might know that when we press our palms together and rest our thumbs lightly on the sternum, it’s a gesture know as anjali mudra, the gesture of supplication or reverence (there’s actually a second way to make this gesture, with cupped palms turned up and the little finger sides of the hands touching). In Parśvottanāsana Iyengar-ites also perform the mudra behind the back, with the pinkie sides of the hands pressed against the spine between the shoulder blades. This is known as prishthānjali mudra, prishtha, meaning the “back of anything” (pronounced something like prish-tah). 

This position is difficult, not to mention painful, for a majority of students. Nest Yoga strongly believes “No pain, lots of gain,” so you have two options for the arms: keep them free and put your hands on the floor or on blocks, if needed, on either side of the feet, or cross your forearms behind your back and hold the elbows. 

PRELIMINARY

The distance between your feet in this pose can vary depending on your level of experience. If you’re a relative yoga rookie, you might want to keep your feet fairly close together, maybe about two and a half feet, give or take a few inches depending on your height. The pose will be a bit easier. If you have more experience under your belt, or are a daredevil rookie, then move your feet about three feet apart, a few more inches if you’re taller.  

Since you’ll be turning your torso to face over the forward leg, the back foot is turned in rather sharply, more so than Triangle Pose, for example. The attempt is made to square the front of your pelvis with the front of the mat. New beginners might need some help doing this, though more experienced students who are tighter in the hips and groins will experience a similar limitation. The best approach here is to position a lift under the back heel, like a thickly folded blanket or,  better yet, a sand bag (40 years ago the bags were indeed filled with sand, and while this is no longer true today the original name persists). 

When you rotate your torso over the front leg, two things might happen that will need your attention. The back heel, in response to the forward turn of the hip, might lose a bit of its contact with the floor/support. In this case, as the hip comes forward, you’ll need to push actively back, away from the front edge of the mat, with the top of the back thigh and draw the pubis to the navel. This should help to somewhat free the groin. The back heel, in most of the two sided standing poses, provides your anchor to the earth. If you lose that, the pose will likely be, to some degree, unstable, which diminishes the sense of rootedness, one of the important benefits of standing poses. The second issue, though not quite as common as the first, occurs when you draw back on the front leg hip. This sometimes results in a loss of full contact of the base of the big toe and the floor, another destabilizing action. So as you draw the front hip back, it’s necessary to plant the mound of the big toe firmly into the floor. As you might notice, the work of the heels and big toes counter the movement of the pelvis.

PRACTICE

So start this with the right foot forward, left foot back, with a distance between them that suits you best. Turn your torso to the right, monitoring the left heel and the base of the right big toe. If you feel that it’s difficult to ground the left heel, put some height below it. Then inhale and lean back, affirming the contact of the left heel with the floor or support, and maintaining that back heel awareness, exhale and lengthen forward. Remember, all forward bends are rooted in the groins (refer to last month’s breakdown of uttanāsana for more instruction in forward bending). This means that as you descend into the fold, it’s essential that you preserve the space between the pubis and navel. It’s a good idea to periodically lift slightly out of the fold to re-affirm that space. For this time, align the mid-torso over the inner right leg so it’s a straight forward bend (it’s also possible to align the mid-torso over the middle of the leg, adding a slight twist to the pose). 

Check the angle of your pelvis and the feeling of the right groin and hip. It’s not uncommon for the back leg hip to tilt down slightly, and at the same time “bunch up,” shortening the right side of the torso. If your hands are free, bend the right knee a bit and press your right thumb into the hip crease, then push back from your thumb as firmly as you can. Remember to keep the mound of the right big toe glued to the floor. Then if your hands are on some support–the floor or blocks–actively push them into the support and back toward the back foot. From this downward, backward pressure, draw the belly out a little farther, pretending that it sits deep in the pelvis like an egg in an egg cup. If your arms are crossed behind, be sure NOT to lift the elbows away from the back torso. Instead push them firmly against the back and lift the front shoulders upward. 

In your imagination, draw “energetically” up from the big toe mound to the inner right groin. Then draw that groin deeper into the pelvis to encourage the lengthening of the belly. Keep your head in a neutral place, looking at the front leg. Stay for 30 seconds to a minute. When ready to exit, come up on an inhale with a long front torso, pulling down on the tail bone to initiate the move from the base of the pelvis. Once upright, be sure NOT to shift forward onto the right foot to bring the feet together. Instead, turn your feet parallel to each other, then turn them for the second side, right foot in, left out, and repeat the relevant instructions (unless your back heel is on a support, then when the feet are parallel, step them together and reverse). Be sure to time yourself so that you stay for equal lengths of time on both sides. 

THE VINYASA

After finishing the pose to the right, exhale, maintain the forward fold and swing your torso to the left. As you do, reverse to position of the feet, right foot in, left out. As your torso reaches the left leg, inhale and lift to upright (you won’t be able to do this if your back heel is supported). Quickly repeat the preparations for the pose and come down on the exhale. Stay for the same length of time as you did on the right, then exhale and swing to the right, stopping in the middle between the two sides. If your arms are crossed behind, you’ll be more or less in prasārita pādottānāsana 2, if your hands are free, prasārita pādottānāsana 1. Stay for as long as you like, then press your hands to the floor under your shoulders (uncross them if need be) and step or hop your feet together. As always, ascend with a long inhale, pulling down through your tail bone. 

HYPER-EXTENDED KNEES

Hyper-extended knees are more common with women than with men. How can you tell if your knees are hyper? Stand with your feet hip width, inner feet parallel, and straighten your knees. If your kneecaps were a pair of eyes, where are they “looking”? If straight ahead, no problem. But if they seem to be to some degree “cross-eyed,” as if they were a yogi’s eyes staring at the tip of her nose, then it’s likely they’re hyper. Over time, if you perform your poses with hyper knees, it could lead to some unfortunate injuries not only to the knees, but the hips as well. It’s best then to brace the legs them in poses where the knees are extended. In our present pose, you’ll want to brace a block between your front leg calf and the floor. First bend your knee slightly and press one end of the block against your calf, and the bottom edge of the other end against the floor. Then straighten the knee and voila! No more hyper knee. You’ll of course need to be on a sticky mat to keep the block from slipping under the pressure of the leg. 

THE VINYASA

After finishing the pose over the right leg, exhale, maintain the forward fold and swing your torso to the left. As you do, reverse to position of the feet, right foot in, left out. As your torso reaches the left leg, inhale and lift to upright (you won’t be able to do this if your back heel is supported). Quickly repeat the preparations for the pose and come down on the exhale. Stay for the same length of time as you did on the right, then exhale and swing to the right, stopping in the middle between the two sides. If your arms are crossed behind, you’ll be more or less in prasārita pādottānāsana 2, if your hands are free, prasārita pādottānāsana 1. Stay for as long as you like, then press your hands to the floor or draw your forearms toward your tail (uncross them if need be), rise with an step or hop your feet together. As always, ascend with a long inhale, pulling down through your tail bone. 

Richard Rosen's Asana Breakdown: BADDHA UTTĀNĀSANA

BADDHA UTTĀNĀSANA

baddha: bound, tied, fixed, fastened

uttāna: to extend, to stretch, extend or bend; upright, erect; lying on the back

In the long history of āsanas, there are two poses named uttānāsana (that is, as far as I can determine), and maybe a half dozen more that have uttāna as a prefix to their full name. The older original uttānāsana is a supine reclining pose, which may seem odd to us, since the pose we know of the same name is a standing pose. In the world of āsana names, such fluidity isn’t unusual. The original uttānāsana is very similar to a pose known both as the Ball Pose (kandukāsana) and the Wind Relief Pose (pavana muktāsana). In this pose, not surprisingly, the practitioner lies supine, draws her thighs to her belly, lifts her head to her knees, and wraps her arms around her shins, appearing much like–take a guess–right! A ball. The difference between the two poses is that in original uttānāsana, the practitioner has her hands clasped on the back of her neck with her elbows pressing her knees. When applied to this pose, uttāna (as you can see in the definition above) means “lying on the back.” We can trace the original pose back to the nineteenth century Śrī Tattva Nidhi (Blessed Treasure of Reality), though it might have been inspired by the older Ball Pose, described in the eighteenth century Hathābhyāsa Paddhati (Guide Book for the Practice of Hatha [Yoga]). 

I might have mentioned in a previous post that the Sanskrit language is well known for its multivalency, a look-up-in-the-dictionary word essentially meaning, when applied to Sanskrit, that any one word of that language can have a wide range of definitions, some hard to understand how they’re related, others even seemingly contradictory. So in addition to being defined as “lying on the back,” uttāna also means “upright, erect.” Yes, that’s right, the same exact word is used to indicate both a reclining and an upright position. Welcome to Sanskrit 101. 

Uttānāsana as “erect” describes our familiar standing forward bend, which I imagine has been around for a long time, although the oldest text in which it’s described (again, as far as I can determine) is the Yoga Rahasya (Secret of Yoga). It was written in the 1920s or 1930s by one of the granddads of modern yoga, T. Krishnamacharya. I don’t think Mr. K invented the pose, but it’s possible he was the one who dubbed the pose uttānāsana for modern practitioners.

I imagine most students know that one of the prime benefits of our modern uttānāsana is the wonderful “stretch” it gives to the backs of our thighs, specifically the trio of muscles known as the hamstrings, or hammies as they’re affectionately called. But most students also know that at the same time one of the prime restrictions to a forward bend are the aforementioned hamstrings, now not quite as lovingly regarded. Because they’re attached to our sit bones, that pair of “stirrups” at the back of our pelvis–or, if you prefer, the rockers on our built-in rocking chair–tight hammies prevent, to some greater or lesser degree, depending on their tightness, the full forward fold of our pelvis over the heads of the thighs bones or femurs (there may other factors involved too). 

If you’re hamstrung by your hamstrings, it’s important to know how to properly enter the forward bend. You may have seen your teacher exhale and sweep gracefully into uttānāsana, pressing her hands to the floor beside her feet. Such a grand entrance is, to some degree, hindered by tight hammies. Many students though, determined to mimic their teacher, give it a try but when they reach the end of the line with their pelvis, complete the fold by bending ungracefully over their belly (by the way, it’s not advisable to descend into uttānāsana with your arms stretched forward; always “swan dive” into the pose). We see this especially among raw beginners. In their enthusiasm, their only goal is to go down and touch the floor, come heck or high water, rather than to create a pose that most benefits their body-mind, regardless of how far down they get. Typically, compensating for tight hammies by bending from the belly tends to create the “Humpback Whale” pose, which is actually not a laughing matter. In such cases, because the hammies refuse to release, the pelvis may be tilted slightly backward, as if in a back bend, an extremely unhealthy situation in a forward bend. Such a pose repeated over time could eventually strain the lower back and lead to serious and unpleasant consequences. It’s essential then that you realize a full “forward bend” with tight hammies, if done properly, is different for different students. A student with hamstring-itis may be, for her, in a full “forward bend” though her torso is parallel to the floor.

So how does our student enter fully into the pose but know when it’s time to stop to avoid transforming her back into a bad imitation of an enormous sea mammal? Not with one swift, balletic movement as she’s seen her teacher make (I’m thinking of our Annie Carpenter here), but slowly in stages, as many as she may need. She doesn’t want simply to go down, as our waist bender does; she instead wants to go out first and then down. It works this way.

Starting from the upright (uttana), our student inhales and lifts through the top of her sternum (manubrium) with a slight backbend (every pose begins with its own opposite). She pays particularly close attention to the space in her lower belly between the pubic bone and navel. It’s here that she’ll monitor her progress into the fold and receive the signal when it’s time to stop. With the following exhale she leans forward to maybe a 45 degree angle and pauses. In forward bends the general focus is always on the front torso (or more subtly, the front spine), and as long as she can more or less maintain the distance she established between the pubis and navel when upright, or re-establish that distance if some has been lost during descent, she can continue on to the next stage. The closer she gets to 90 degrees though, the smaller the folding movements should be, and the more frequent the pauses to lengthen become. Once past the right angle of torso and legs, the torso moves in a sort wave-like way, continually drawing out the lower belly in preparation for the next down. As soon as she feels the space in her lower belly begin to collapse and can no longer approximate its upright length, can no longer go out, her forward bend has reached its safe limit. 

Now there’s a trick–maybe it would be more formal to call it a “technique”–that we can use in our out and down that allows us at each stage along the way to maximize the length of the lower belly, thereby making the pose ultimately more effective and, just as importantly, safer. In the 44 years I’ve been a yoga student, it’s undoubtedly one of the most useful techniques I’ve learned. When I learned maybe 35 to 40 years ago, it not only vastly improved virtually all my āsanas, but movements and posture in my daily life as well. I still practice it regularly, and all you need to learn it is a yoga block and a free wall ... and, as is customary with all āsanas, the three P’s: patience, perseverance, and practice.

EXERCISE

Every pose has an anchor, and in uttānāsana that anchor is the heads of the thigh bones (femurs), golf-ball shaped bones that nestle in the hip socket. It’s from this stable base that the lower belly lengthens out and prepares to descend.                                                                                                                                                        

Go to your wall with your block. Now a block has six surfaces, two ends, two sides, and two faces. You should use the sides of the block for this exercise, and you must position the block precisely for this exercise to work. Turn your back to the wall and position the block at the very top of your thighs, slightly below but not directly on the sit bones. The block is now more or less behind the heads of the thigh bones (femurs). Step your heels out about 10 inches from the wall, more if you’re on the tallish side, and lean yourself and the block against the wall, remaining upright. If your feet are too close to the wall, you’ll feel as if you’re being pushed forward and your block will probably soon be thumping on the floor. Walk your feet out then a few more inches. 

Now press your upper thighs against the block. The tendency at first is to push the knees toward the wall instead, something you don’t want to do, especially if your knees hyper-extend. How will you know if you’re pressing the top thighs and not the knees? If you’re doing the former, you may feel a spontaneous lift of the front torso, along with a subtle increase of pressure of the heels against the floor. These two actions approximate Patanjali’s criteria for a successful āsana, which should be both comfortable (sukham) and steady (sthiram), or in the words of the British sage Lewis Thompson, “strength without tension.” This is, in fact, just how you want to always initiate your move into uttānāsana, or really any foward bend.

Now go out and down to a 45 degree angle and pause. Are you pressing the block with your uppermost thighs, or simply locking your knees? If the latter, imagine your calves are resisting against your shins, and see that your kneecaps, like a pair of eyes, are looking straight ahead. To give yourself a hand (so to speak), press your thumbs deep into your front groins and push back ... hard. The press has to be against the groins, it won’t work if you just press the thighs. Check your low belly: if you’ve maintained its upright space or can re-establish what space may have been lost moving down, you can continue to the next stage using this same method. If you move past 90 degrees (when the torso perpendicular is to the legs), your out and down progress will be more like a caterpillar inching along a tree branch. At some point, as I mentioned previously, you’ll begin to lose and are unable to restore the upright space in your lower belly, so this is where the traffic light turns red. Pushing past safe limits could well lead to the Humpback Whale Pose and its potential for injury. As a student who studied for many years under hard-core Iyengar teachers, I can assure from personal experience that aggressively attacking any āsana is a really bad idea.

You may want a chair in front of you to support your hands if they don’t comfortably touch the floor. Incidentally, even if your hammies are relatively stretchable, you may want to try this method of descent. You might find that your pretty good forward bend gets a bit prettier. Stay in place for several minutes, maybe pressing your hands, if possible, against your calves to resist pushing back on the knees. Come up on an inhale with a long front torso, initiating the ascent in the same way you initiated the descent, by pressing the heads of the femurs against the block. Be aware that it’s very common for a block to drop when ascending. It’s entirely possible that you won’t “get it” at first. I urge you to persevere, the benefits of “grounding” or “centering” the femurs, or whatever it is we’re doing, are well worth the time and effort.

BADDHA UTTĀNĀSANA

Now for the pose of the month, baddha uttānāsana, for which you’ll need your yoga belt, ideally around 8 feet long (a shorter belt may be sufficient if you’re shortish). You may not have heard of this pose before, and that’s because I just made it up (at least I believe I did; after almost four-and-a-half decades of practice, all the poses sort of run together, so if I did learn this from another teacher–which I honestly don’t think I did–then I apologize to the offended party). The pose is baddha, “bound,” because of the way the belt is used.

Make your belt into as large a loop as the belt can make, with maybe just an inch of the free end sticking out past the buckle. I prefer to do this pose with my buttocks on a wall, heels once again 10 or so inches out, but I need this help for my balance. If you feel comfortable without a wall support, that’s fine. 

Swing the loop behind you and step your feet back over it, securing it to the floor. Then bend forward maybe half way, knees bent, and loop the loop over your pelvis, across the sacrum, close to the tail bone (be sure to have its free end pointing up on your dominent hand side, that makes it easier to tighten). Now with the knees still bent, get a sense of where the pelvis is relative to the floor. Then apply what you learned in the block exercise. Imagine there’s a heavy weight on the back of your pelvis, so as you “ground” or “center” the femur heads, the pelvis can’t lift any higher. As you press back on the thighs, lengthen forward and descend slightly more. Every time you want to go farther, repeat this sequence: bend your knees slightly, snug the belt, weigh down the pelvis, press back on the femurs. Continue until your lower belly signals “stop.” You may find you’ve gone a bit farther down than usual, but no guarantees. 

Now there’s one more step to try if you can comfortably grip your ankles without the manifesting the Whale. Wrap your thumbs around the inners and the rest of your fingers around the outers. Press the bases of your big toes firmly against the floor and pull up on your ankles, imagine you’re attempting the impossible–which is what yoga is actually all about–and lift yourself off the floor (yes, in your imaginaton). As you do, draw imaginatively up along your inner legs and “sharpen” your inner groins up into your pelvis. Feel how the belt across your sacrum “caps” the rising energy, so that it spreads out across your pelvis side-to-side toward the outer hips. What you’ll have then is a “geyser” of imaginary energy creating a feeling of enormous space in your pelvis. From that space, allow your torso to release downward. Be sure not to pull your torso down, that creates tension; rather, think of your torso hanging down from that space in your pelvis. Be sure too to let your head hang from the “root” of the neck, deep inside your upper back between the shoulder blades, and feel its weight. Stay as long as you like, but at least a few minutes. To come up, first bend your knees, then release the loop and, pressing the femurs back against an imaginary block, ascend on an inhale with a long front torso. 

When you become more adept with working with the femur heads, you’ll discover they have more uses than you can shake a block at, pretty much all the poses, even savāsana. OM tat tvam asi.

Richard Rosen's Asana Breakdown: URDHVA DHANURASANA

URDHVA DHANURASANA

oord-vuh dhun-your-AHS-annuh

sometimes popularly called the “Wheel,” though by the shape of the completed pose, it would probably be more accurate to call it the “Half Wheel,” or maybe the “Dome” or “Yoga Rainbow”)

urdhva = rising or tending upwards, raised, elevated, erected, upright, high, above

dhanus = a bow (in Sanskrit when a vowel follows a consonant the two letters join into a single letter (usually) other than the two originals, it’s called a “junction” (sandhi); so when the word “āsana” (“seat”), which begins with that long a, follows a word ending in s, the two words are joined and by the rules of sandhi, the s becomes an r, as we have dhanurāsana). 

Upward Bow (hereafter UB) isn’t one of our modern inventions, but neither is it greybeard old. The earliest version of it that’s been found in a text (and there could well be earlier undiscovered versions) was published in 1899, written in Marathi. UB is categorized as a “backbend,” but this word is, to be nit-pickingly precise, somewhat misleading, as it is for all related poses. It would be better to think of this pose as a “back extension” rather than a “bend.” The latter word suggests, to me anyway, that the pose is concentrated in the area of the spine, the lower back (lumbar), where the bend is easiest to create. Ths puts enormous pressure on that area, not a particularly good idea. The giveaway for this is the shape of the front torso, which shows a sharp break at the lower ribs, and a flat, taut belly. Extension, on the other hand, suggests the pose is distributed evenly along the length of the spine, each section–lumbar, thoracic, and cervical–sharing equally in the pose. If you have a copy of Light on Yoga, have a look at plate 487 (in my edition). Mr. Iyengar’s front torso, in contrast to the bend, displays a smooth curve as if drawn by a compass.

So what’s the secret of the difference? Believe it or not, it involves the openness of the armpits and front groins. I’ll never forget, many, many years ago I was being photographed for an article in Yoga Journal (when it was still printed on actual paper and sold in actual stores). In those far off days, when cameras still needed film, the poser was always assisted by an outside observer, a spotter, who would verbally suggest needed corrections to your āsana before the photo was taken. For some reason I don’t recall, my spotter that day was Ramanand Patel, one of the premier teachers in the Iyengar world. Had I been wearing boots, I would’ve been shaking in them. One of my scheduled poses was UB, and back then as a spring chicken yogi, that pose for me was graded maybe a B+, though I might be overly generous. Wanting to show Ramanand how much I knew about yoga, I attributed my shortcomings in UB to “tight shoulders.” Expecting a warm smile and nod of approval, instead he said, “But it’s not your shoulders, it’s your armpits.” Oh. 

To open the front groins, you might try Reclining Half Hero(ine) (supta ardha virāsana), in two related ways, one passive, one active. The former requires what’s usually called a “sand bag,” a remnant of the distant time when bags were actually filled with sand and came in handy during flooding. To do this one, lay your torso on a support, a thickly folded blanket or bolster, even if you can recline easily on the floor. Do the same with the virāsana knee, that is, support it on a folded blanket so that it’s a few inches off the floor (keep the off leg knee bent, foot on the floor). As a result, yhe groin (and the head of the thigh bone or femur) will be at the bottom of a “valley” between the pelvis and the thigh. Then lay the bag right across the groin, and allow the groin to sink under the weight of the bag. Stay for at least three minutes. One indication that the exercise is working will be the feeling that your breath is penetrating deep into your pelvis. Repeat with the left leg back for the same length of time. 

Then remove the knee support (keep the back support if needed), and press from your tail bone along the back of the thigh out through your knee. Remember to maintain the feeling that the groin (femur head) is sinking floorward. As you do this, lay your hands on your lower ribs, press down, and lift your pubis toward your navel. It’s a popular notion that in back extensions we need to stretch the belly, but actually it’s just the opposite: to some extent we should firm the belly (rectus abdominis) and shorten the distance from the pubis to the lower ribs to help lengthen the lower back. Stay for an equal length of time on both sides.

If this doesn’t appeal to you, alternatively you could do a simple bent knee lunge, with your torso upright, maybe facing a wall and pressing it with your hands. You might also wedge a block between the knee and the wall, and as you press the knee against the block, slide the back knee farther back. Again, pubis and lower ribs draw together as the tail bone lengthens downward. 

Now for the armpits, which “don’t get no respect” because of their armpitty reputation. This exercise is best done with a metal folding chair, the kind found in many yoga schools. If you don’t have one, you might try a household chair or move on to the chair-less exercise following. Lie prone on the floor facing your chair, the front edge of the chair seat facing you. With your arms fully extended press the creases of your wrists just at the front edge of the seat, palms off the seat and facing toward the chair back (rest your forehead on a block if needed). Very slowly descend the palms to press against the seat, and as you do, imagine the heads of the upper arm bones (humerus) moving in the opposite direction, away from the floor, deepening into shoulder sockets. In addition to this action, press the chair away from you and your armpits will ideally lengthen and narrow, stretching the pectoralis major (front armpit) and latisimus dorsi (back armpit). Remain here for what at first may be several really unpleasant minutes, then release, and shake out your arms. 

If you’re chair-less (or the chair exercise is unappealing), lay your shoulder blades on a block set at its lowest height (on its faces), and a second block under your head at its middle height (on its sides). You can have your knees bent, feet on the floor, or straighten out your legs on the floor, keeping them firm by pressing through your heels. Now with an inhale, reach your arms upward toward the ceiling, open the space between your shoulder blades, cross your forearms, hold the elbows, and with an inhale swing the arms overhead to rest on the head block’s projection. You could try to bring your forearms to the floor, but be careful not to push up on the front ribs. Doing that doesn’t open the armpits, it just scrunches the lower back. Stay for at least three minutes (you might change the cross of the forearms midway through), then roll over to the side with a moderate groan.

Now, at last, on to the pose ...

Lie on your back with your palms on the floor beside your head (elbows bent, of course), fingers pointing toward your shoulders, arms parallel. Have your knees bent with your feet pigeon toed on the floor, heels tucked up close to your sit bones. Often when we push up into the first stage of the pose (halfway up, back torso off the floor, crown on the floor) the feet turn out, Charlie Chaplin style, the knees splay wide, the outer hips harden, and the lower back suffers accordingly.To counter these tendencies, put a block at its widest width between the big toe mounds of your pigeon toed feet, and another block at its narrowest width between your thighs, midway between the pelvis and knees. 

Now when you lift to stage 1 (with an inhale), squeeze the block between your toes and roll the block between your thighs down toward the floor (you may have to squeeze the block too). This is done because back bends–I mean extensions–require, we might even say demand, internal rotation of the thighs. Don’t lift from the inner thighs and groins; rather, lift from the outer hips and coccyx as the inner thighs roll down. 

So here you are at stage 1, positively champing at the bit to move on to stage 2. This is where our second big mistake often occurs: as we straighten the arms, we push with our legs toward the torso, which inevitably leads to a back bend and a heart-rending appeal for mercy from the lumbar. To avoid this, we have to push the legs away from the torso to maintain the length of the lumbar. There’s a way to learn this which isn’t exactly easy, but it is effective, if you can figure it out. So go to a wall and press your pigeon toed big toes against it. Lift to stage 1, and as you do, press your knees against the wall. Then straighten your arms without letting your knees come away from the wall. If you do find this to be difficult, try supporting your feet on blocks at their lowest height, this may help. 

To move into stage 2 then we must then straighten the arms. Here’s another great stumbling block, the inability to straighten your arms because, as you reasonably surmise, “I’m not strong enough.” Lack of arm strength may, to a greater or lesser degree, be a factor in your inability to lift up, but there’s also the possibility that tightness your groins and armpits are holding you back. After stretching them for a time, you may find lifting to full UB is somewhat easier.

There’s an exercise that helps us get a feel for the work with the arms, but unfortunately you’ll need a metal folding chair or a close equivalent. Brace its back against a wall and sit on the floor with your back touching the front edge of the seat, knees bent. Inhale, lift your buttocks off the floor and lay the upper portion of your back torso on the seat. Now reach back for the chair legs on either side of the chair back. If you’re just starting out, take hold high up on the legs, on either side of the chair back. For a greater stretch (and more challenge) hold lower on the legs, all the way down to the seat if possible. Inhale, pigeon toe your feet, internally rotate your thighs, push your knees away from the chair and straighten your arms to lift your torso off the seat. Does this help getting the arms straight? I hope so.

Another way to go about this is to brace two blocks at their lowest height and about shoulder width (make sure when you lie down there’s enough space between them to accommodate your head) against a wall. Get into the ready position with your hands on the blocks (if you feel this is awkward, you can angle the blocks against the wall, but have a sticky mat underneath their bottom edges so they don’t slip). Lift to stage 1, try to keep your arms parallel, and push against the blocks and lift. Rotate your upper arms outwardly (laterally), as you do in Downward Facing Dog (adho mukha svanasana) to create space between the shoulder blades, and maintain the pressure, again as in Dog, on the bases of the index fingers. Always move into any back extension with an inhale, release with an exhale. 

How long you stay in the pose is entirely up to you and gravity. At first 10 seconds will seem like 10 minutes, but as you progress, a full minute would not be outside the bounds of the possible. 

IF YOU HAVE A YOGA CHAIR....

What’s a “yoga chair”? In the old days, and here I’m referring to my old days the early 1980s, the folding metal chair was found in all Iyengar schools. It was used in many creative and sometimes torturous ways, in particular as a prop to support a back be...extension. We sat on the chair opposite the usual way, that is, facing the chair back with our legs between the seat and the piece of metal that served as the back. This worked well if you were about 5'4" and weighed maybe 110 pounds. Otherwise it was often difficult for anyone larger to fit in the space between the seat and the back. 

Then someone, and I don’t know who, had the brilliant idea which changed the course of Western civilization: they took a hammer and whacked out the chair back opening up a space that a small elephant had no trouble slipping through. This is what I’m calling a yoga chair. You can probably make one yourself if you have the right tools (YouTubers will demonstrate how), or you can buy one ready made, though they often cost way more than their pristine predecessors. If you don’t play linebacker for the 49ers a regular intact chair might work OK. 

Anyway, get your chair and slide your legs between the seat and the bar that’s now the back. Slide through until you can hook your tail bone over the back edge of the seat, knees bent, feet on the floor. If you’re not an Iyengar type and would rather avoid excruciating pain, you might pad the seat with a blanket. Inhale, and lie back on the chair seat, ideally the front edge will cross your back somewhere in the vicinity of the lower shoulder blades. Have a block off to the side of your dominant hand, and use it to support the back of your head (for various reasons you may need more than one block to support your head, and don’t try to pre-position the block, it’s difficult to find when lying over the chair). 

There are at least three ways to arrange your legs. You can keep the knees bent, feet on the floor, that’s the easiest way to go. You can sit near a wall with a block or two pressed against the base of that wall. Then position yourself so that when you extend your legs, you can rest your heels on the block(s). This is sort of midway between the bent knees and what’s next, which is of course to extend the legs with the heels on the floor. In the latter two possibilities, be sure to keep the legs active during your stay. There are also at least three things you can do with your arms. You can do what you did when lying on the block, cross your forearms and swing them overhead. You can also stretch the arms straight back. To get a better chest opener, insert your arms under the chair seat between the legs and hold the back rung or legs. Be sure to pacify your ribs in all three positions. 

Stay for at least three minutes, be sure to breathe the whole time. To come up, grab onto the chair back and, leading with your sternum, exhale and pull your torso up, head trailing. Then hang your torso over the chair back to relieve your back. 

VARIATION

UB has a one-leg-raised variation called eka pada urdhva dhanurasana (pronounced ache-uh pod-uh = one foot). First go into UB. Then shift your weight onto your left foot and, with an exhale, bent your right knee and draw your thigh to your torso. Then inhale and extend your right leg straight up, more or less (depending on your flexibility) perpendicular to the floor. Press actively through the raised heel for 5 to 10 seconds at first, then exhale, bend the knee and return your  foot to the floor. Repeat with your left leg for the same length of time.

Richard Rosen's Asana Breakdown: PŪRVOTTĀNĀSANA (Intense Stretch of the East)

PŪRVOTTĀNĀSANA (Intense Stretch of the East)

pūrva = being before or in fore front; eastern, to the east of

uttāna = stretched out, spread out; ud = a prefix implying power, tān = to extend

āsana = seat (for a breakdown of this Sanskrit word, go to the end of this blog)1

Pūrvottānāsana has two things in common with last month’s pose (śiva natarajāsana): neither is  traditional (i.e., extant prior to about 1900), and both are first illustrated but not described in T. Krishnamacharya’s Yoga Rahasya (Secret of Yoga, YR). For detailed instruction we need to turn once again to Light on Yoga (LoY), by B.K.S. Iyengar, Mr. Krishnamacharya’s brother-in-law and longtime student. 

For Mr. I, the East represents the front of the body, while West (paścima) refers to the back, and so names the counter-pose to Intense East, Intense Stretch of the West (paścimottanāsana). I’ve tried for a long time to find out if there is any traditional precedence for comparing East and West to the front and back body, but without success (if we want to finish assigning compass points to the to the body, then North, uttara, is the head and South, dakshina, the feet). As I mentioned last month, every pose in LoY (except śavāsana) has a “difficulty rating” (my phrase) on a scale from 1 to 60, 1 being the easiest, like Mountain Pose (tādāsana), 60 being the most challenging, to say the least. To be honest, many of these ratings are rather unreasonably low for the average Western student. For example, Lotus (padmāsana) is rated 4, the same as Side Angle Stretch (pārśvakonāsana), which is obviously much too low, or at least overly optimistic. I bring this up because pūrvottānāsana is rated 1, the same as Mountain Pose (tādāsana). This is for most of us way, way too low. East Stretch isn’t especially difficult, but it’s certainly not a 1. 

PREPARATION 

The pose this month requires you to have a chair, a folding, metal “yoga” is preferable, but any STURDY chair will do. I advise you not to use any family heirlooms. 

THE CHAIR. Brace the chair back against your yoga wall. Oftentimes, if your wall has a baseboard, the top edge of the chair’s back won’t press against the wall, which could make the chair a bit wobbly. In this case, lap a blanket over the chair back to close the gap and stabilize the chair. Also, if your chair has plastic feet, the kind that slip on a bare floor, it might be wise to set the chair on a sticky mat (this isn’t necessary with rubber feet), just in case ... 

1. STEP 1. Sit on the chair and grip the back edge of the seat, right thumb pointing right, left thumb left. Position you feet directly below your knees. Inhale, press your hands against the seat and lift your pelvis up, knees stay bent. Ideally your head will rest easily against the wall. Don’t go to maximum stretch right away, take it to the point where you feel a comfortable stretch across your chest and shoulders. You may need to step your feet slightly forward to re-align your heels beneath your knees. You want to make a fairly straight, diagonal line from your knees to the top of your chest. Your thighs can be slightly apart and parallel to each other.

2. You may, however, find that your pelvis and chest sag a bit, creating a kind of shallow U shape with your torso. You can remedy this in one of two ways: 1. By actively drawing your pubis to the navel and “lengthening” through your tail bone, and firming the sholder blades against the back; or 2. if that doesn’t work wedge a block between your sacrum and the front edge of the seat, usually at its middle width. Try to slide your sacrum up the block an inch or two, which should draw the tail bone down to give you a feel for remedy 1.  Stay for 30 seconds or so and release back to the seat with an exhale. Shake out your shoulders and arms. 

This pose, by the way, is again pictured but not described for the first time in YR. It’s named catush pada pītham (chuh-toosh-PA-duh-PEE-tham), the four-foot seat. Pītham here means “seat,” it’s a word occasionally used instead of āsana, which also literally means the same. 

3. Repeat step 1, but now go to full stretch. Even though your arms are in extension, which tends to squeeze the shoulder blades together, try to maintain some space between them. To get a feel for this, before lifting off the seat, with an exhale, round your torso, stretching the blades widely to the sides. Then inhale, lift to vertical, maintaining as much of that width as possible through the exercise. Hold again for 30 seconds and release. Shake.

4. Now you’re ready for step 2, the chair supported pose. There’s a trick to this pose that you’ll need to apply in the floor pose if you hope to press your feet firmly on the floor. Repeat the full stretch of step 1, and with an inhale, reach out your right leg. Pause with the foot slightly off the floor and internally rotate your leg so your toes point left, then press your foot to the floor maintaining the inward turn. Repeat with your left leg, except of course turn your leg so the toes point right. Your toes then should be slightly pigeon-toed. 

5. Try to create that same diagonal line, now from your feet to the top of your chest. Your torso may not have sagged when your knees were bent, but now, with legs straightened, you may experience some drooping. So experiment with the remedies in item 2. Press the bases of your big toes firmly to the floor and draw an imaginary line of energy up along your inner legs, through the center of the torso to the top of your sternum. 

6. Now for the trick. When we get to the floor pose, many students, even old timers, have difficulty pressing their toes to the floor. This isn’t a major issue, but feet fully on the floor does help to strengthen to pose. Here’s what you do. Draw your pubis to your navel, as you would for any backbend, and think of lengthening your tail bone along the backs of your thighs to the heels. This should, on the floor, help you press your toes. We’ll see.

7. Hold for 30 seconds to a minute and release. If you found this closer to 60 than 1, you may stay with the chair for the time being, though if you’re feeling adventurous, proceed to the next level. 

8. Sit on the floor, knees bent, back torso pressed against the front edge of the seat. Position a block on the seat to support your head in the pose. The position of the hands is variable. Customarily, the fingers point forward (i.e., away from the chair), but many students find this too hard on the shoulders. It’s perfectly acceptable to turn the hands so the fingers point to the sides or even straight back. Experiment with what works best for you. But however you arrange your hands, make sure you don’t weigh down on the bases of the palms.

9. To avoid this, look at one of your palms. You’ll see at the base there are two low mounds, one at the base of the thumb, the other at the base of the little finger. In between these two is a shallow channel. Stroke the index finger of your other hand back and forth across this channel. When you’re in the pose–any pose for that matter that bears weight on the hands–draw this channel away from the floor. This should shift more weight to the bases of the index fingers and relieve some of the pressure on your wrists.

10. Start by repeating step 1 to the full. Hold for 30 seconds. Try to get a feel for the lengthening of your tail, but be sure NOT to tuck. Keep both thighs rotating inward (medially) and imagine a kangaroo tail reaching out from the bottom of your spine to your heels. Make sure your head is resting comfortably on the block. I like to press the bases of my palms against the chair feet, and have the backs of my upper arms press against the front edge of the seat. 

11. Now for the full pose. Repeat exactly what you did previously in step 2, but this time be more aware of the tail. As you extend your legs, your tail will tend to sink, which will likely prevent your toes from touching. Again, you’ll probably survive. If your toes don’t touch, and you want to get a feel for toe-touchdown, position something on the floor, like a sand bag or, better yet, a foam wedge where your toes can reach, for a support (the should slope toward you). Remember though, this is a stop gap measure, keep working on the tail bone and pubis. Hold for 30 seconds to a minute and release. 

12. If you need a back release, sit on the very front edge of the chair seat with your legs widened to about 90 degrees, knees over heels. Exhale and release your torso through the legs. If you’re tighter in the groins your knees may collapse inward. To counter this press your palms together and brace your elbows against your inner thighs and gently push back. Stay for a minute or so and inhale up by drawing your tail bone toward the seat.

THE NAME PŪRVOTTĀNĀSANA IN DEVANĀGARĪ: Devanāgarī, the most common script for writing Sanskrit, is famous (or maybe infamous for students just learning the language) for its longsentenceswithoutanyspacesbetween the words. I’m pretty sure you can pick out the six English words in that long unbroken string of words in the previous sentence because they all retained their normal spelling. But Sanskrit is different. When words are joined together in long strings of words, there are often changes made at the junctions, called sandhi. For pūrvottānāsana there are three such junctions. The first is between pūrva and uttāna. Can you see what happens? When a final a joins with an initial u, the offspring is an o. The second junction isn’t obvious, but it’s in uttāna. See the double t’s? The first is actually a d which, when it comes into contact with the second t, also becomes a t. The third junction is between uttāna and āsana. When a final a meets up with an initial a, whether they’re short or long (indicated by a macron, ā), the result is always a long ā

If you’d like to learn how to work with Sanskrit words through an online Sanskrit-English dictionary, please join me on Friday, September 22, from 2:00 to 4:00 pm, for an introductory course. It’s not as mysterious as it seems, and it’s lots of purihāsa (see, if you knew how to use the dictionary, you’d know what this class will be lots of).