YOGA BLOG
What Moves Us…..
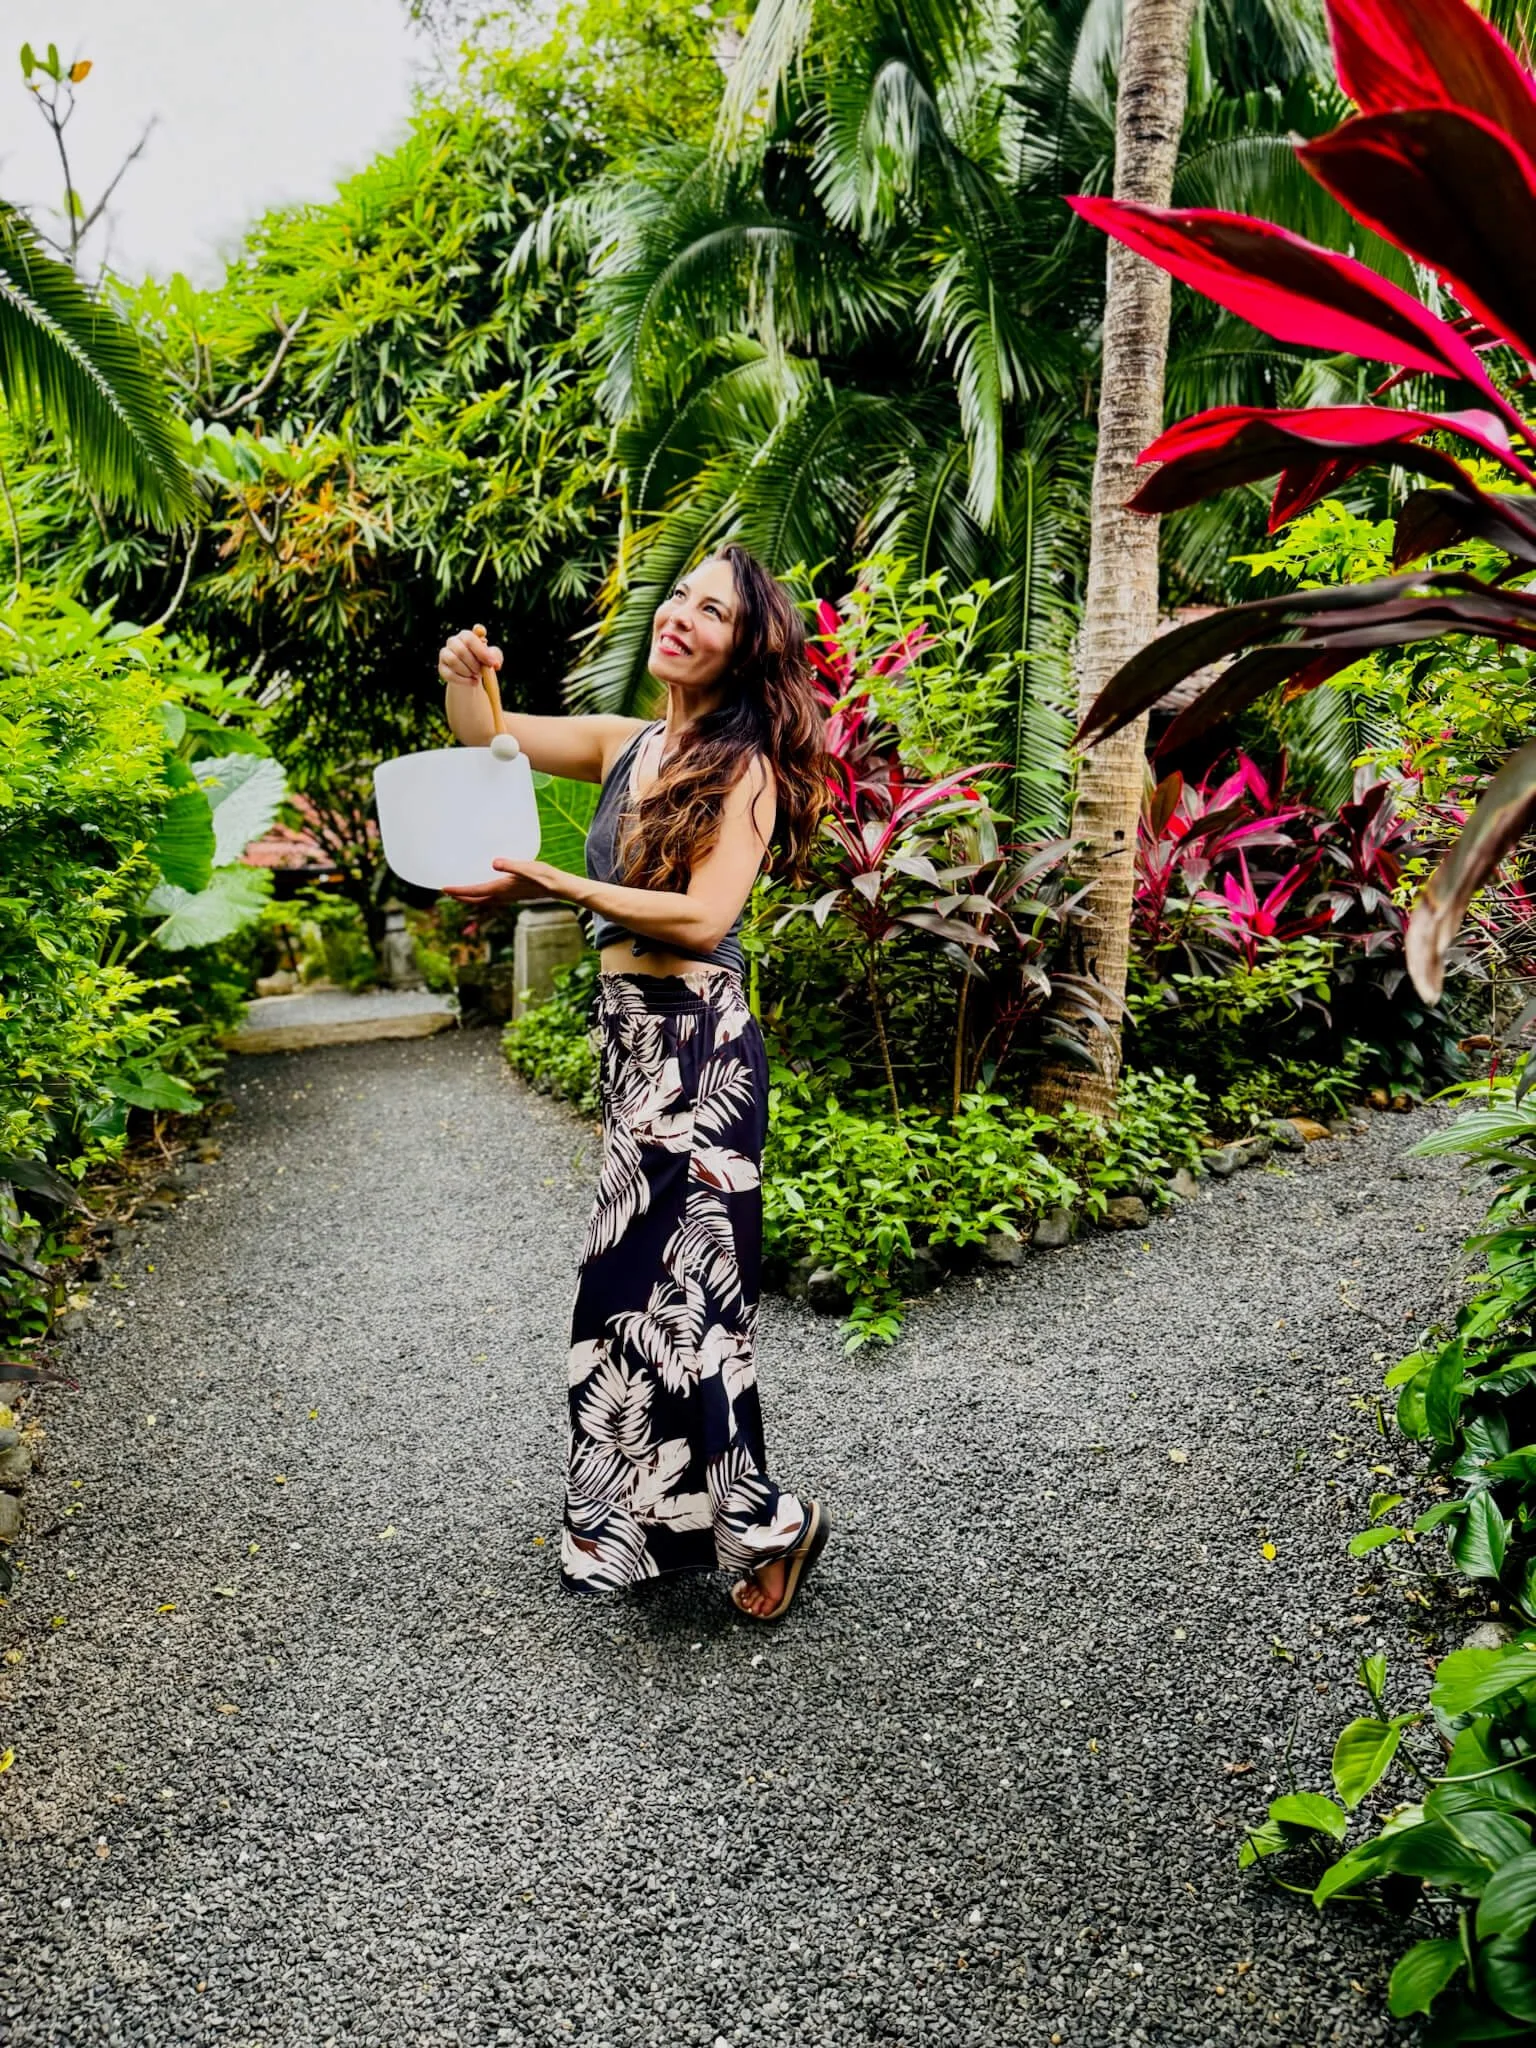
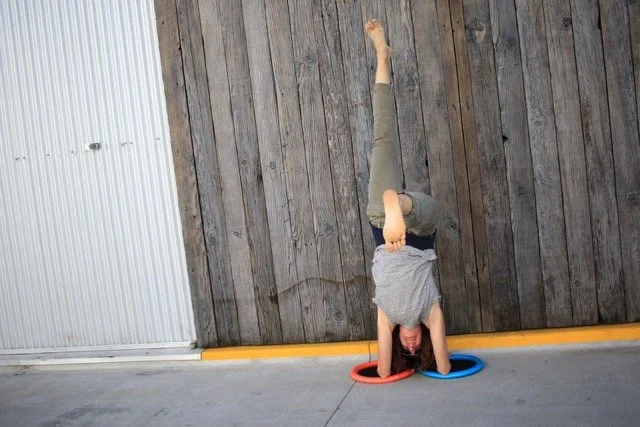
The Pot of Gold
by Kim Lally
Remember when you were little and all the grownups asked, “What do you want to be when you grow up?” I never knew how to answer that... First, would I know when I was a grown up? I guess I am now, and in casual adult conversation, people often ask, “So, what do you do?” The answer came easily when I had a defined job outside the home, “I trade bonds for Citibank” or “I am a first grade teacher” But, as a stay-at-home mom, I was perplexed by how to answer that. What do I do?
One day I heard myself respond, “Oh, I am just a mom.” WHAT? Did I just say that I was ‘just’ a mom? Isn’t that among the most noble and fulfilling roles ever? I was tasked with raising good humans, loving them unconditionally and feeling their hurts a million times worse than they felt them. Nothing ‘just’ about that.
So about those kids - well they started to grow up. And leave for college. One down. Then the second. Gulp... One more at home and the years are flying by. I was holding on for dear life. Big Gulp.
After a college dropoff, the hives set in. Suddenly I was covered with red itchy patches. Everywhere. I did all sorts of investigative work. I went gluten free. Dairy free. Nightshade free. I gave up wine and cookies and eggs and nuts and coffee. (Note - not chocolate. Let the record show I never give up chocolate).
I joined a nonprofit providing microgrants to women in Africa. I went back to school to take my prerequisites for med school. I volunteered in the hospital. I was desperately seeking a purpose. And relief from the hives.
Then I took a yoga teacher training. And I found something I had been overlooking for a long time. I didn't need a label, a title, any letters after my name. I discovered a passion.
My passion for wellness & health in all things - be it animals or children, bodies or minds - had been there all along. To realize it took some hives, then hospital volunteer work, add in some anatomy classes and then that yoga teacher training. And now, I own a beautiful yoga studio with world class teachers. Each step on the brick road filled my nerdy brain with countless facts about bodies and minds, as well as fulfilled a desire to spread wellness to others.
Many of us yearn for a purpose. To feel fulfilled. To find that magic. But maybe the magic is actually in the journey. For me, as each experience began, other options unfolded. Being open to each new idea meant wandering down many paths. Some not so good. Discovering the passion is the journey. We look under each rock and around each corner. We may never grasp that elusive pot of gold for with each step closer, it is ever evolving.
So now, many years later, I think I have found the answer to “What do you want to be when you grow up?” The answer: “Living my passion.”
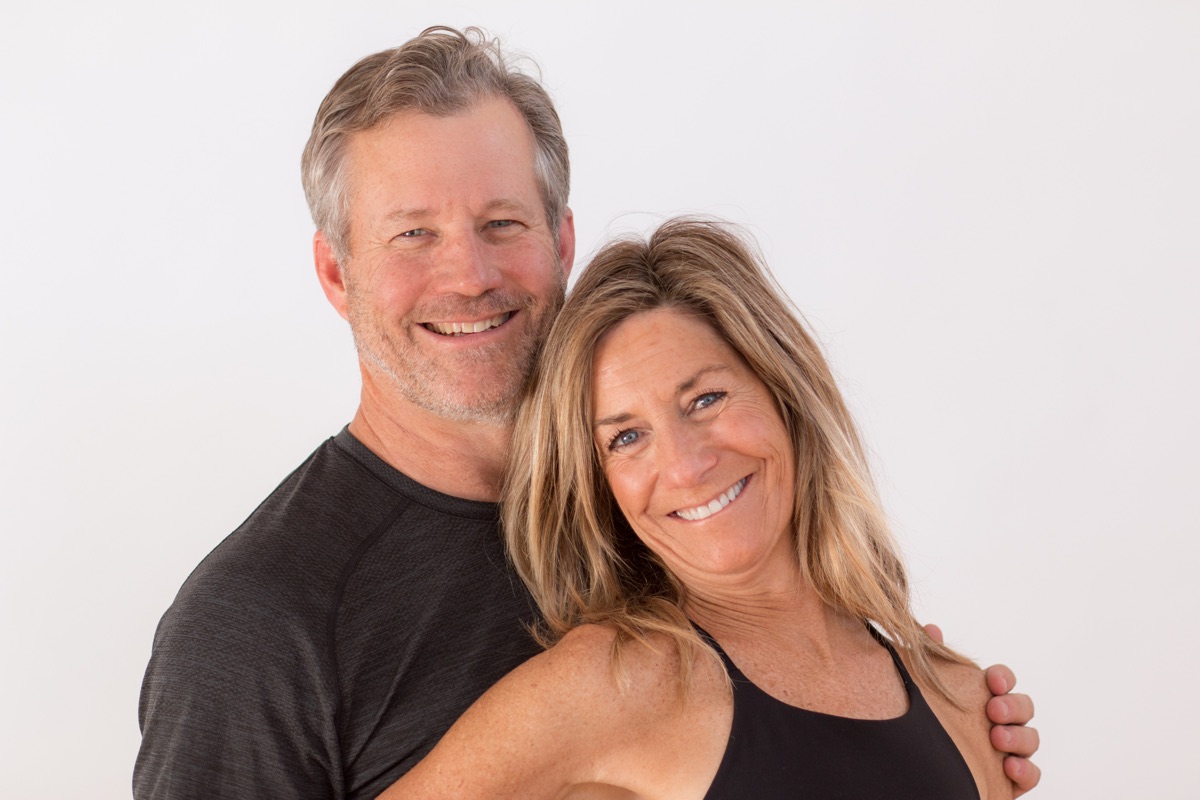
- Kim Lally and her husband Bob are the owners of Nest Yoga | Oakland. Bob manages the finances and is number one handyman. Kim does the rest. They have 3 grown children and two dogs. They make a good team.
RICHARD ROSEN’S ASANA BREAKDOWN
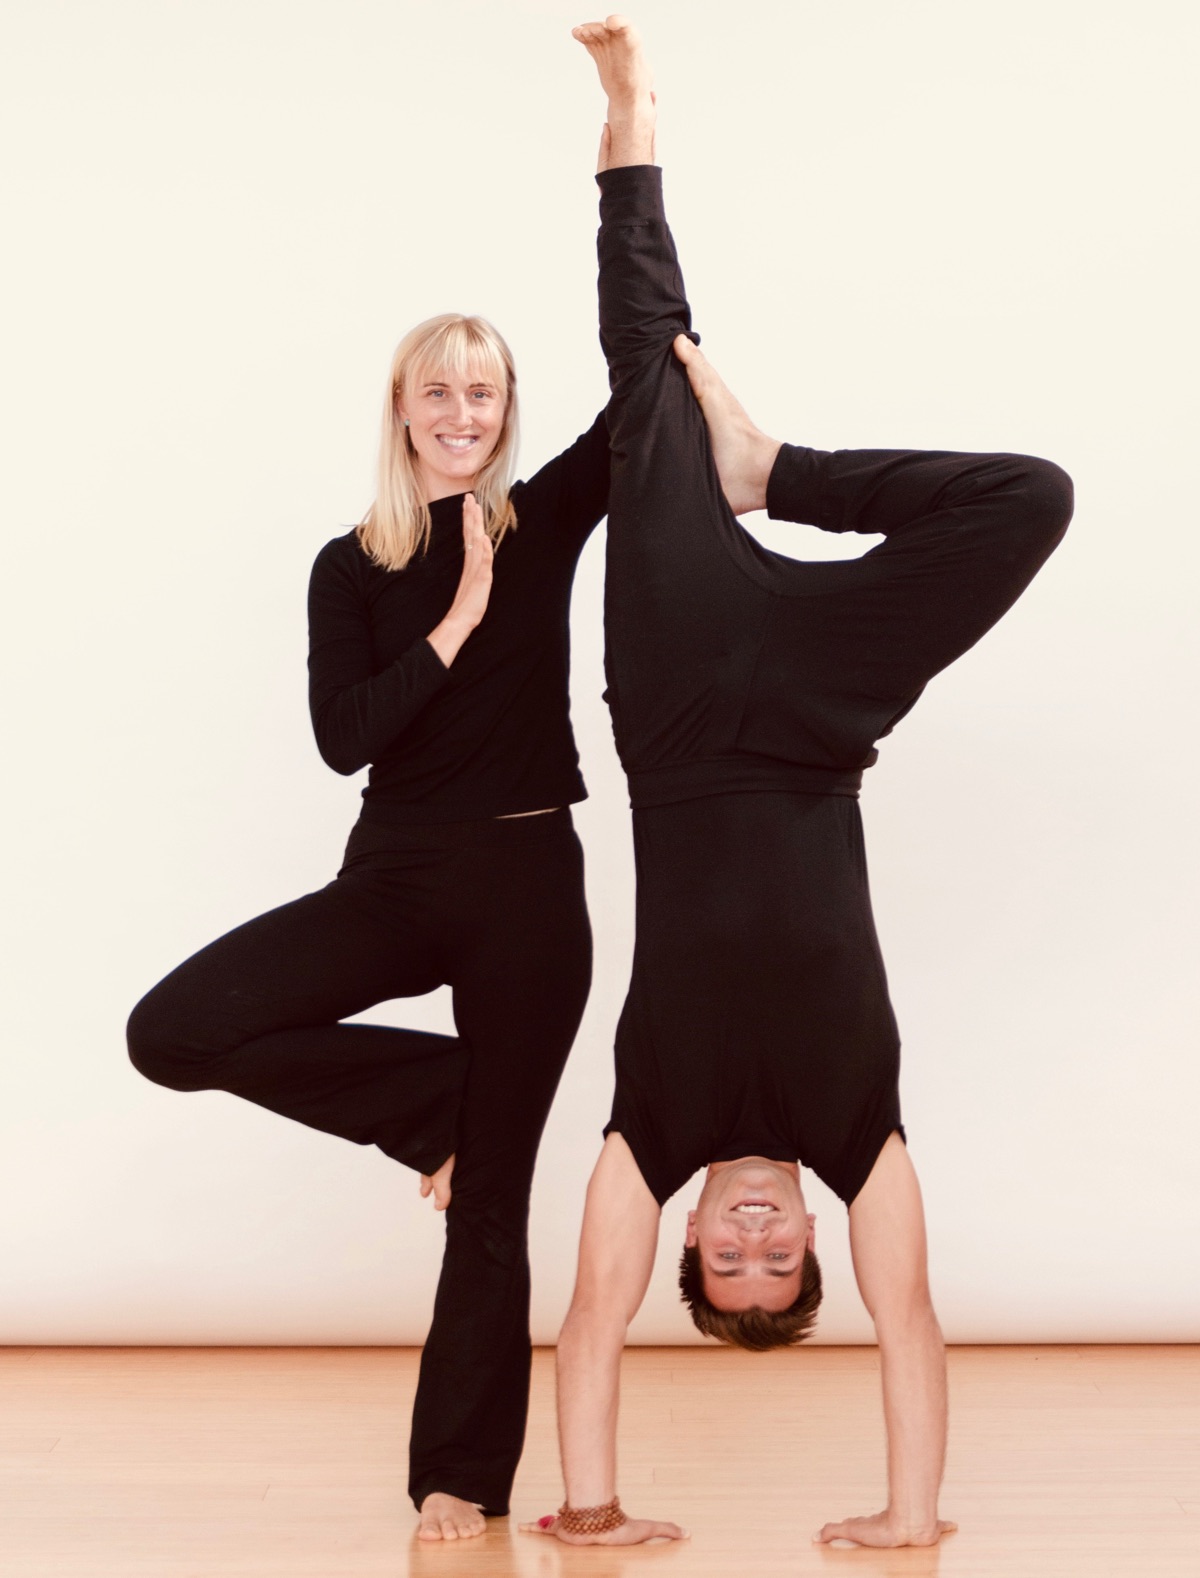
VRKSHASANA
(vriks-SHAHS-anna)
vrksha = tree
Tree Pose
1. Stand in Mountain (tadasana). Shift your weight slightly onto the right foot, keeping the inner foot firm to the floor, and bend your left knee. Reach down and, with your left hand, clasp your left ankle.
2. Draw your left foot up and place the sole against the inner right thigh. If possible, press the left heel into the inner right groin, toes pointing toward the floor. If this isn’t possible, position the foot lower down on the leg, though never directly against the knee. The right leg should be angled slightly relative to the floor so that the center of your pelvis is directly over the right foot.
3. Rest your hands on the top rim of your pelvis. Make sure the pelvis is in a neutral position, with the top rim parallel to the floor and the two hip points equidistant from the wall opposite you (assuming you’re square to the walls of your practice room).
4. Lengthen your tail bone toward the floor. Firmly press the left sole against the inner thigh (or the inner leg) and resist that pressure with the outer right leg. Touch your palms together in anjali mudra, resting the joined thumbs lightly against the sternum. Gaze at a fixed point in front of you on the floor, about 4 or 5 feet away.
5. Stay for 30 seconds to 1 minute. Step back to Mountain with an exhale (the hands touch the hips as the raised foot comes to the floor) and repeat for the same length of time with the legs reversed.
- Benefits
Strengthens thighs, ankles, and spine
Stretches the groins and inner thighs, chest and shoulders
Improves sense of balance
- Modifications & Props: You can stand with your back braced against a wall if you feel unsteady in this pose.
- Variations: Stretch your arms straight up toward the ceiling, parallel to each other, palms facing, or touch the palms together forming an inverted V with the arms.
- Preparatory Asanas:
Baddha Konasana
Trikonasana
Virabhadrasana II
- Follow-up Asanas: Vrksasana is an excellent preparation for any standing pose.
- Beginners Tip: If your raised foot tends to slide down the inner standing thigh, put a folded sticky mat between the raised-foot sole and the standing inner thigh.
- Advanced Tip: As with Tadasana you can challenge your balance by practicing this pose with your eyes closed. Learn to balance without any reference to the outer environment.
RICHARD ROSEN’S ASANA BREAKDOWN NO.2: CHATURANGA DANDASANA
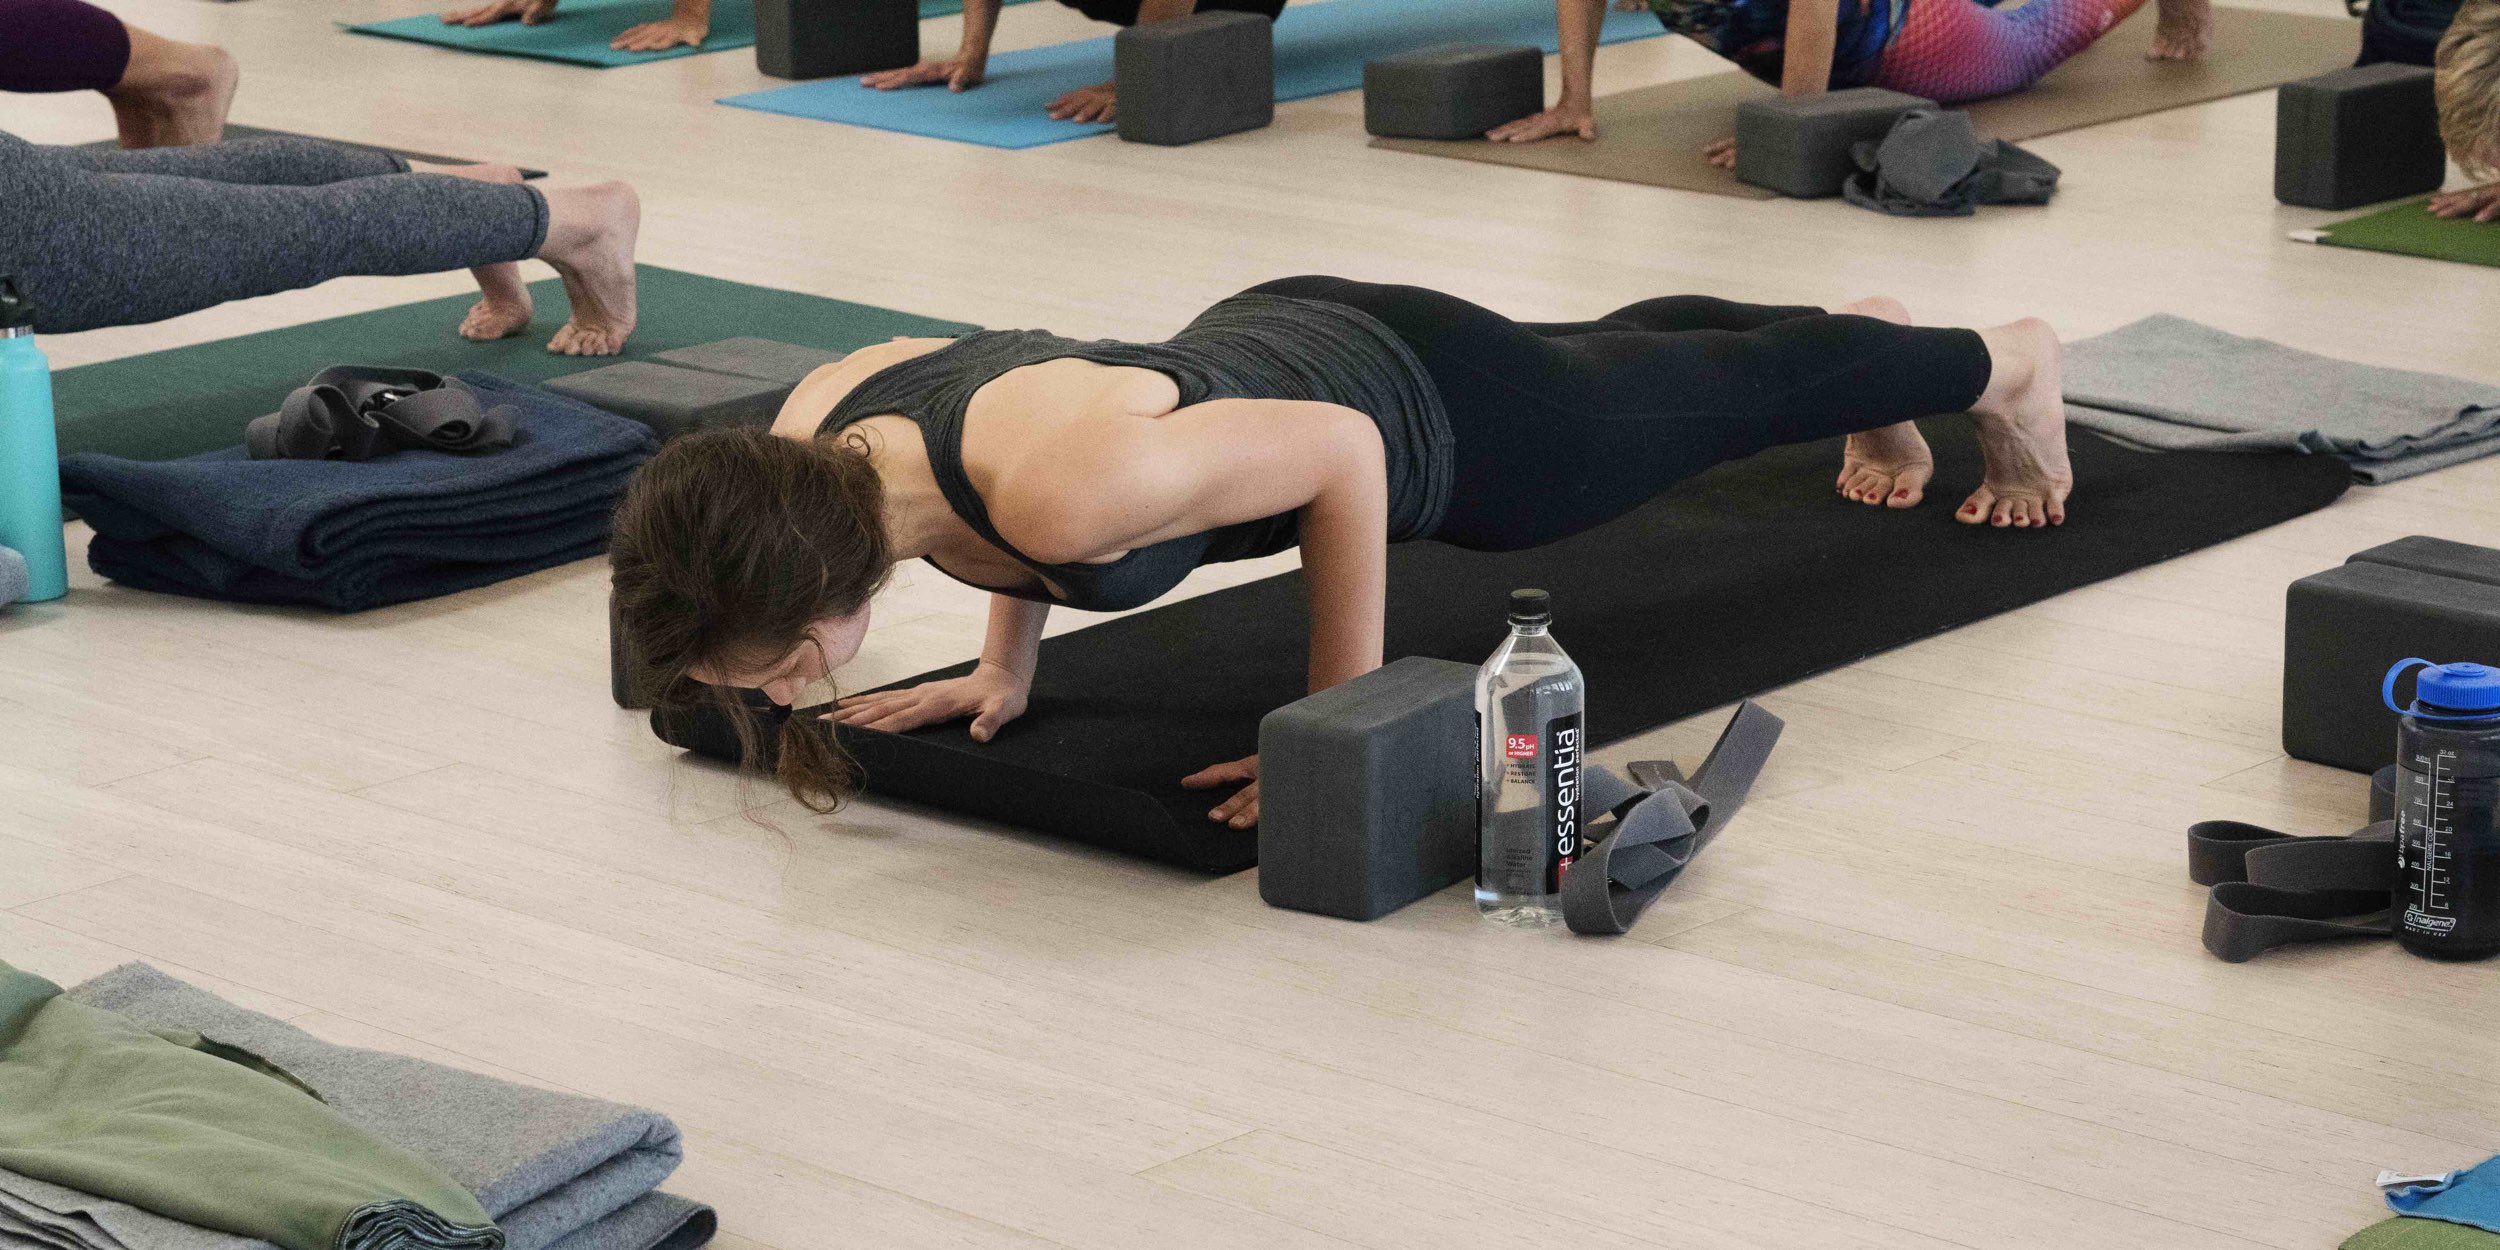
CHATURANGA DANDASANA (chah-tur-ANG-ah dun-DAHS-anna)
chaturanga = four limbs (chatur = four; anga = limb) (SPELLING NOTE: The Sanskrit “c” is pronounced like the “ch” in “church.” Properly then, “chatur” should be spelled “catur.” The “h” has been added to make the pronunciation easier for non-Sanskritists).
danda = staff (refers to the spine, the central “staff” or support of the body)
Four-limb Staff Pose (the “four limbs” refers to the pose’s four supports, the two hands and two feet)
1. From Adho Mukha Shvanasana (Downward Facing Dog Pose), swing your torso forward into Plank Pose. 1 Align your shoulders over your wrists (so the arms are perpendicular to the floor), and firm your shoulder blades against your back torso. With the torso parallel to the floor, lengthen your tail bone toward the heels.
2. On an exhale, bend your elbows and slowly lower your torso and legs to within a few inches of the floor. It’s common in this pose for the lower back to sag toward the floor and the tail bone to poke up toward the ceiling. To counter this, firm (but don’t tuck) the tail bone toward the pubic bone, and firm the lower belly to bring the navel and the pubic bone closer together. Alternatively, if you lack the strength to hold the torso/legs off the floor, then it’s acceptable to bend the knees to the floor for extra support.
3. Broaden your shoulder blades and hold the upper inner arms close to the sides of the torso, don’t let the elbows splay. You can stay on the balls of your feet or swing slightly forward onto the tops of your feet with the toes pointed back.
4. As you do with Downward Dog, firm the bases of the index fingers against the floor. Beginners should look down at the floor, more experienced students can look forward as long as the back of the neck doesn’t get compressed.
5. Chaturanga Dandasana is one of the positions in the Sun Salutation sequence. You can also practice this pose by itself, holding anywhere from 15 seconds to a minute. When you’re ready to exit, release yourself to the floor with an exhale. Alternately, you could press back on an inhale to Downward Dog; just be sure not to arch back and compress the lower back. Keep the spine long and press back from the top thighs.
Benefits:
Strengthens the arms and wrists
Tones the lower abdomen
Contraindications:
Wrist injury or carpal tunnel syndrome
Beginner’s Tip:
In Plank, position a block on one of its sides (about 4 inches high) under each shoulder; each thumb should touch the end of the block that faces toward you, each index finger is then placed alongside the outside face of the block. Slowly lower your shoulders onto the blocks. If you need more support, position a third block under your thighs. You should then ideally be well supported and can get a feel for what the completed pose is like.
Intermediate’s variation:
In Chaturanga, rock back slightly, then quickly, on an exhale, hop yourself slightly up and forward, landing a few inches ahead of where you started. Continue for a few more forward hops, then try to hop backward, back to where you started. This is called Nakrasana (knock-RAHS-anna), which Mr Iyengar calls the Crocodile, but which may also mean Alligator.
1 NOTE. “Plank” is what this pose is typically called in English; however, if we want to “Sanskrit it up” we can call it “phalakasana” (pa-la-KAHS-anna; the “ph” pronounced like the “p” in “pin” or “path”), phalaka = plank.

PARIGHASANA BY RICHARD ROSEN

PARIGHASANA (par-ee-GOSS-ah-nuh)
parigha = an iron bar or beam used for locking or shutting a gate. Also (depending on context): a line of cloud crossing the sun at sunrise or sunset; two birds flying on each side of a traveller (regarded as an omen); a virtuous person.
This pose is commonly known as the Gate Bar or Gate Latch Pose. Among the 198 poses in Light on Yoga (see p. 73, plates 37-39), it’s one of the true side bends (or more technically a lateral bend). What does this mean? In Triangle Pose (trikonasana) for example, the torso is extended to the side over the forward leg, but the attempt is made to lengthen both sides of the torso evenly. In Parighasana, the torso is curved to the side over the straight leg, so that the underside of the torso is compressed and the topside is fully stretched.
For this pose, you’ll need a thickly folded blanket to serve as a pad for your knee. I also recommend using a wall to support the sole of the side-stretched leg. The pose described immediately below is a simplified variation of the full pose (see plate 38). See the VARIATION section for a description of the full pose (plate 39).
1. Kneel on the floor with your right side to the wall. Stretch your right leg out to the right and press the heel to the floor and the ball of the foot to the wall, toes pointing up (you may also pad the heel if needed). Keep your left knee directly below your left hip (so the thigh is perpendicular to the floor), and align your right heel with the left knee. Turn your pelvis slightly to the right (so the left hip point comes slightly forward of the right), but turn your upper torso back to the left. Turn your right leg laterally to point the knee cap toward the ceiling.
2. Inhale your arms out to your sides, parallel to the floor, palms down. Side-bend to the right over the plane of the right leg and lay your right hand down on the shin, ankle, or on a block outside the right foot. Contract the right side of the torso and stretch the left. With your left hand on the outer left hip, push the pelvis down toward the floor. Then slip the hand up to the lower left ribs and lift them toward the shoulder, opening a wide space in the left waist.
3. With an inhale, sweep the left arm over the back of the left ear. The side bend tends to twist the torso toward the floor. Without pushing the bent-knee hip back (continue to roll it slightly forward), turn the upper torso away from the floor, in this case to the left.
4. Stay in this pose anywhere from 30 seconds to a minute. Come up with an inhale, reaching through the top arm to draw the torso upright. Bring the right knee back beside the left, and repeat with the legs reversed.
Benefits
Stretches the sides of the torso and spine
Stretches the hamstrings of the side leg
Opens the shoulders
Stimulates abdominal organs and lungs
Contraindications: With any serious knee injury, kneeling might be difficult to impossible. In such a case perform this pose sitting on a chair. Arrange your legs either in front of your torso, knees at right angles; or stretch one leg out to the side, mimicking the full pose.
Variation: Full Parighasana is a deep side bend. From the starting position described in step 2 above, lean to the side over the straight leg. Lower the underside of the torso as close as possible to the top of the straight leg. Press the back of the lower hand on the top of the foot, then sweep the top arm over the back of the ear and join the palms. Finish as described in step 4 above.
Preparatory Asanas
Adho Mukha Svanasana
Baddha Konasana
Prasarita Padottanasana
Supta Padangustasana
Upavistha Konasana
Utthita Parsvankonasana
Utthita Trikonasana
Virasana
Follow-up Asanas: Parighasana can be used as a preparation for many of the standing poses, like Trikonasana and Parsvakonasana. It’s also a good preparation for Parivrtta Janu Sirsasana.
Beginners Tip: If you tend to hyper-extend your knees, brace a block under the calf of the side leg to prevent any compression of the knee.
CLASSES FOR EVERYBODY BY JOANN LYONS
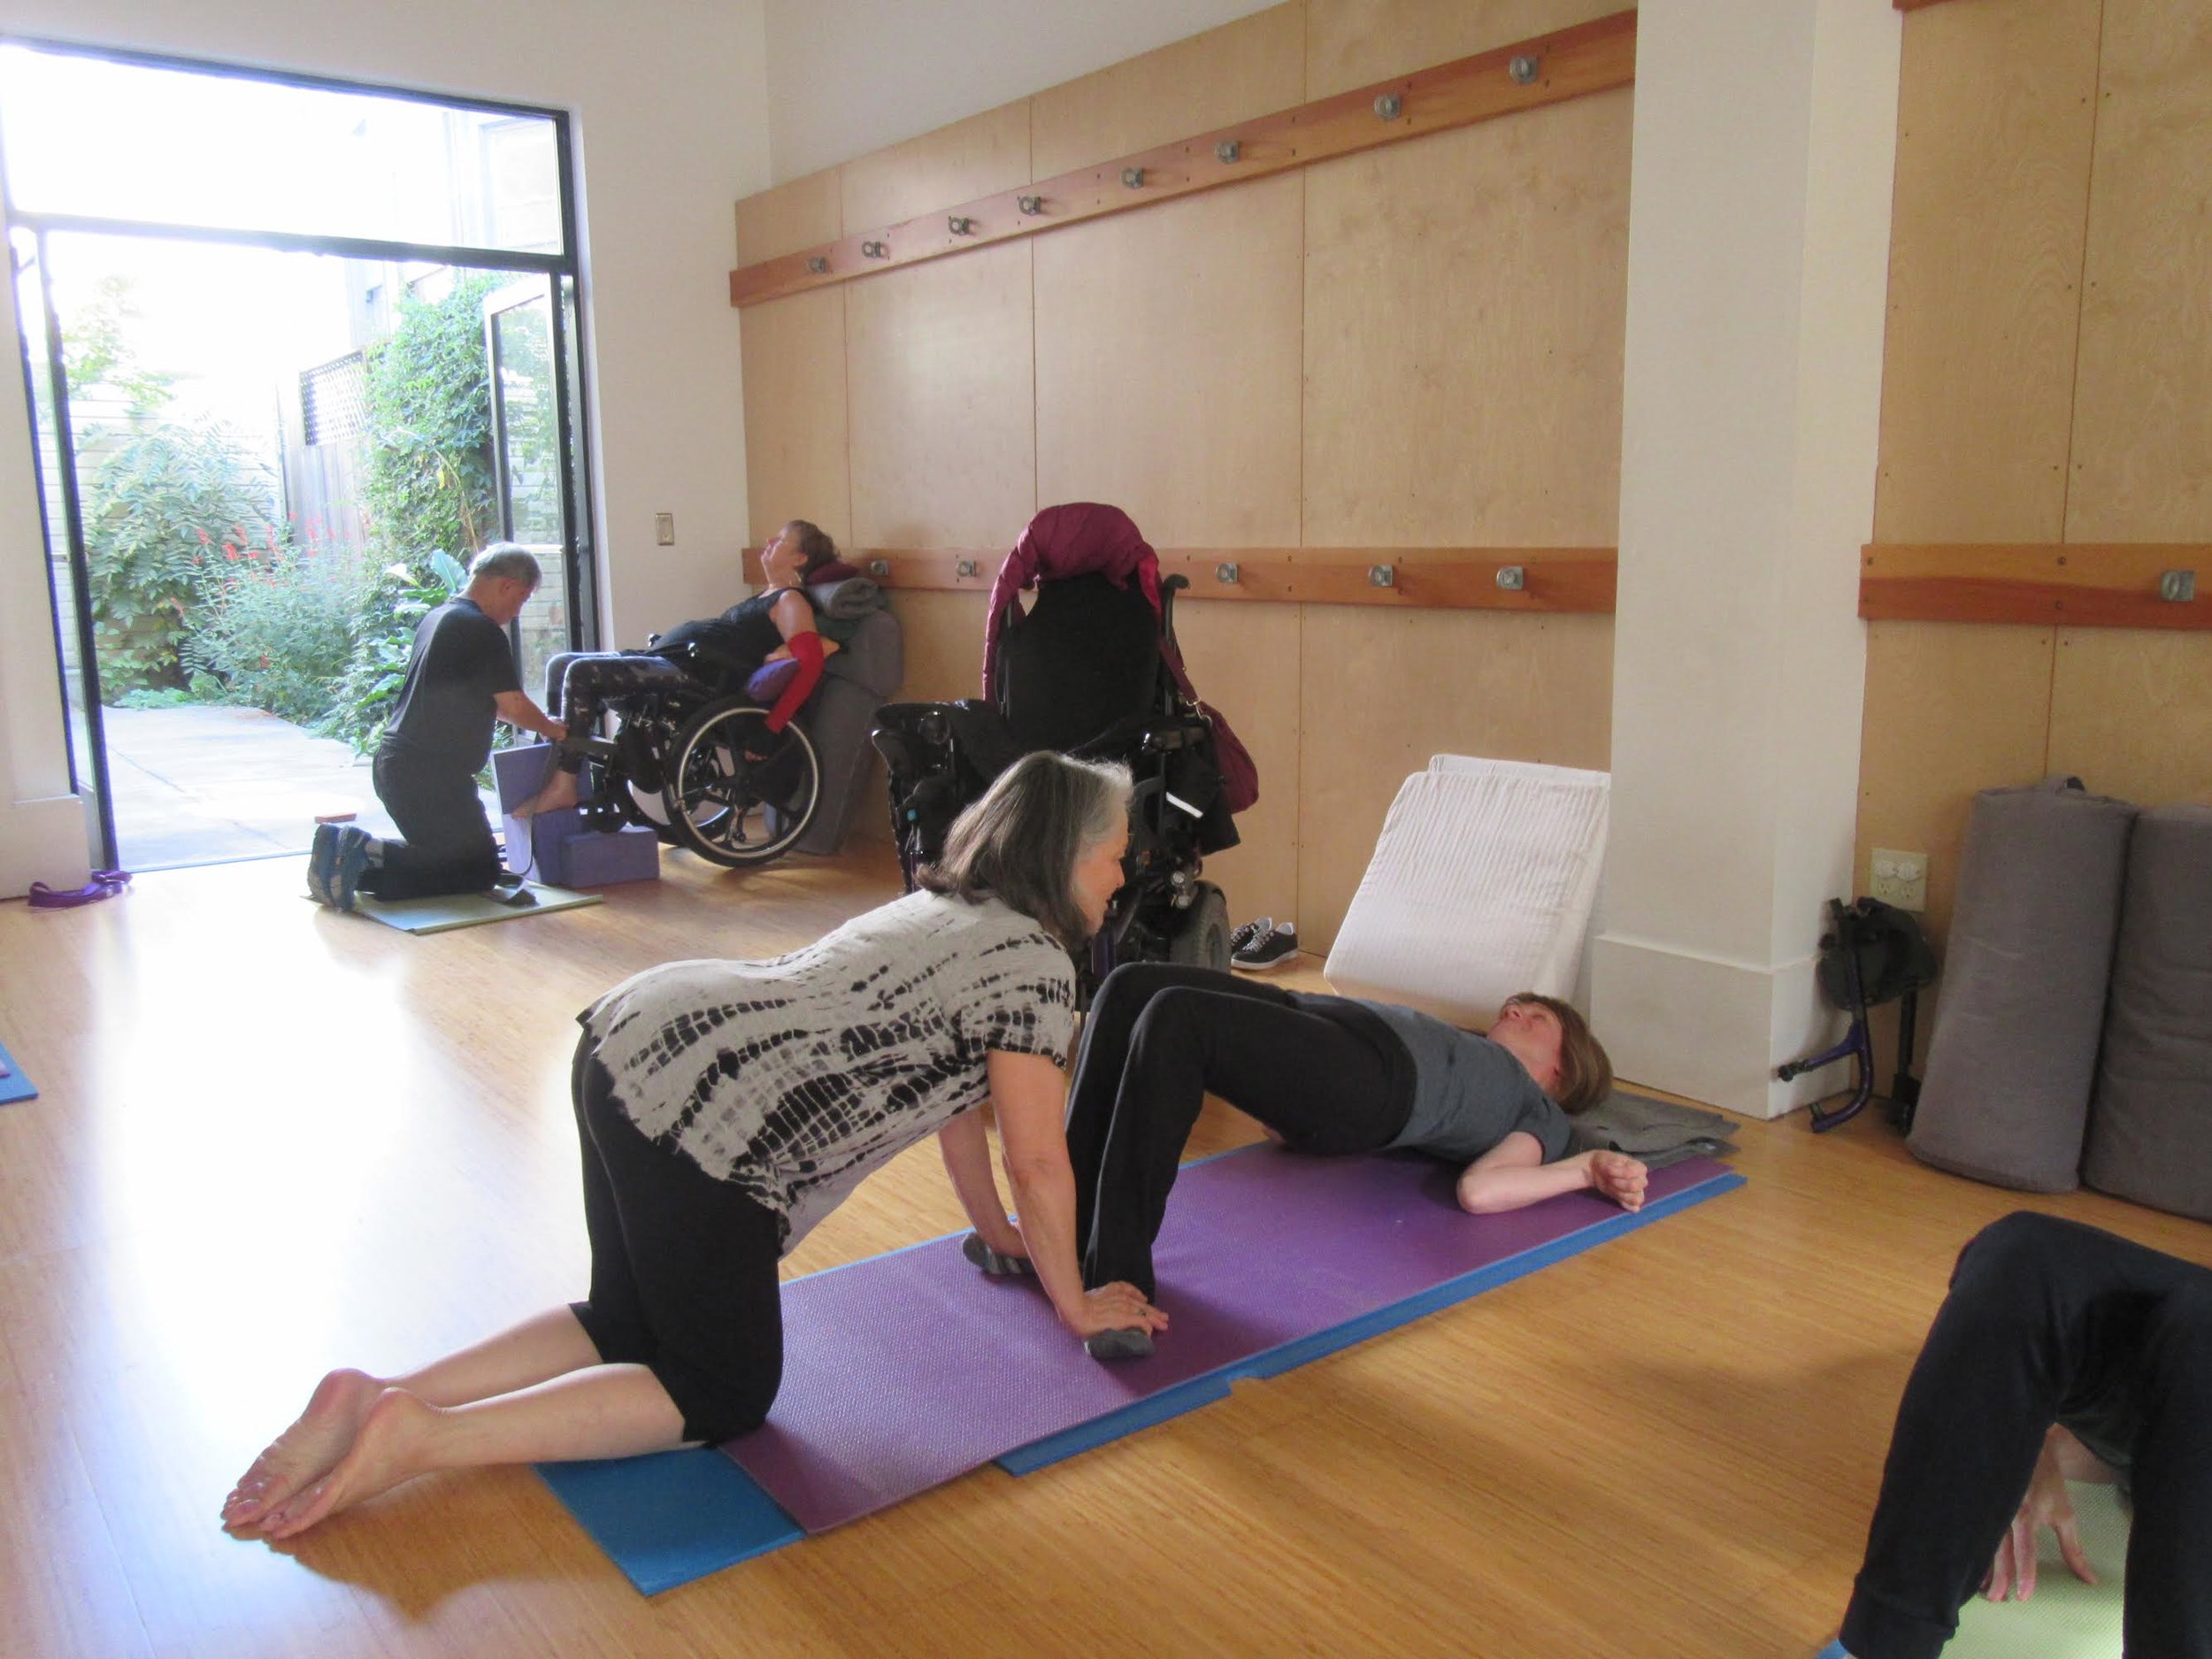
I’m guessing if you’re reading this, you love your yoga class! It’s something you count on and look forward to every week, knowing that you’ll not only learn something about your body or how to nail that perfect pose, but also that you’ll feel so much better after your class and spending time with other people of like mind. Finding strength, flexibility, relaxation in a pose, or even nailing that perfect pose is not the exclusive domain of able-bodied yogis, although sometimes it sure appears that way. Twenty, even ten years ago, it was the rare exception to find a class that was inclusive of the disability community; yoga studios, usually located upstairs, were not accessible. On April 1, 2001, Piedmont Yoga Studio opened its doors with an accessible studio on Piedmont Avenue and began offering classes for people with disabilities. My name is JoAnn Lyons and I was, and still am, the teacher of two classes each week that have lasted through ownership and name changes, as well as a new physical location of the studio. In order to provide a positive experience for students, I’ve been providing teacher trainings so that our students receive expert help when needed. Piedmont Yoga Community (PYC), a non-profit organization, was formed to support these classes, and to supplement payment to teachers for this important work, so the classes can be offered to our students on a sliding scale. These yoga classes for People with Disabilities are meant to be inclusive. No one is turned away because of race, color, creed, sexual orientation, gender identity, age, ability, disability or lack of ability to pay for the class. And therein lies the rub . . . PYC is asking for help from the local yoga community to support these classes. If you can make a one-time donation or, better still, commit to a monthly contribution, it would help PYC support this work. If you have other ways to help by donating your time and talent, please contact PYC. Here are some quotes from our students and assistants and their thoughts on how PYC has touched their lives.
“Thank you for your wonderful class and your generosity and devotion to a group of people with limited options and a need for all the help they can get . . .” Joel B.
“Thank you so much for doing this at an affordable rate . . .” ♥ Joan C.
“The class has helped me move closer to the life I desire – a life of being present, conscious and happy.” Patricia E. “In short, the class has a very cool vibe!” Melissa C.
“The community that inevitably develops in any class . . . keeps bringing me back.” Patrice W.
“Shared companionship and compassion before, during or after every class, making it very unique and gratifying.” Ramona A.
“I feel so safe at your Yoga classes. The amount of personal, individual attention each participant receives is extraordinary in my experience.” Marty S.
Our Blog
Check out the latest Articles: